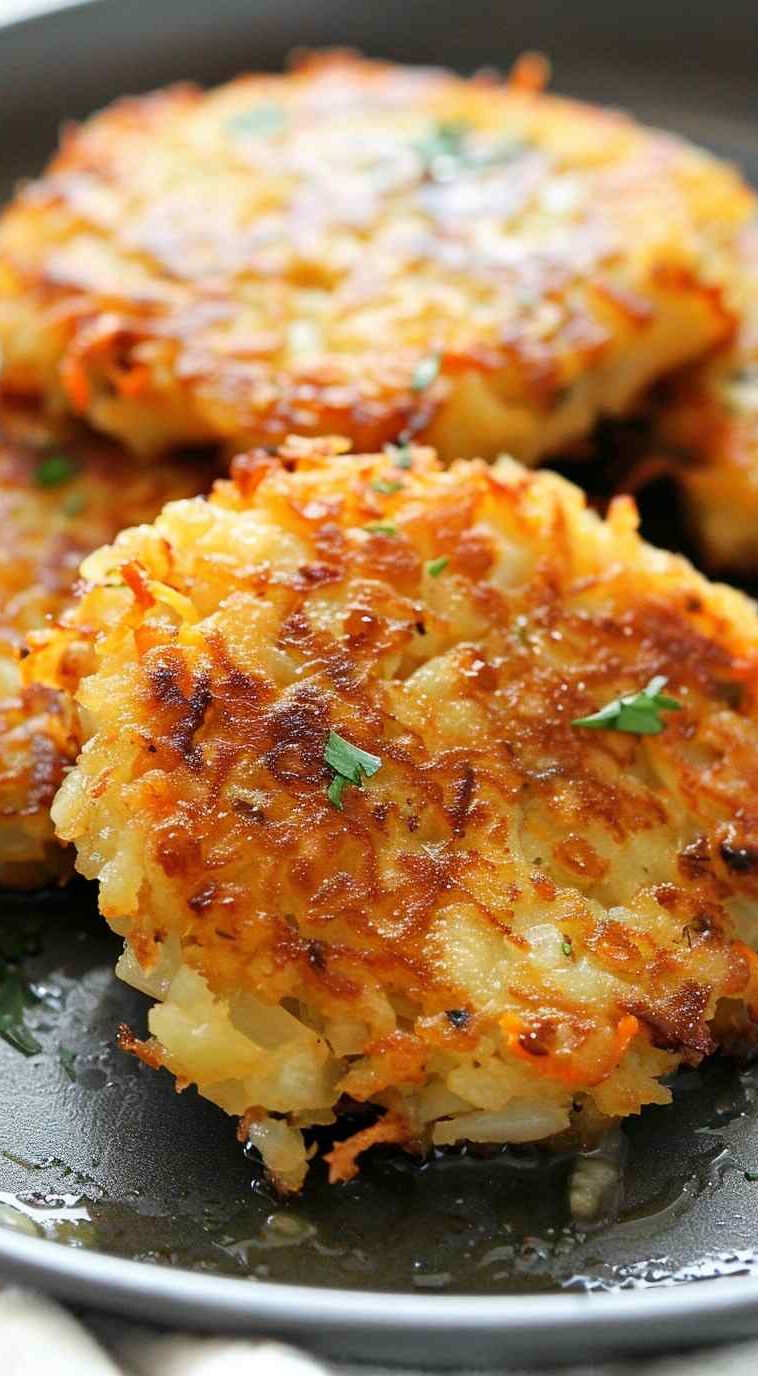
Crispy cheesy hash brown patties are a delicious and satisfying breakfast or brunch option that combines the classic flavors of hash browns with gooey melted cheese. These homemade patties are crispy on the outside, soft on the inside, and bursting with cheesy goodness. Perfect for serving alongside eggs, bacon, or as a standalone snack, these hash brown patties are sure to become a family favorite.
Why Try Crispy Cheesy Hash Brown Patties
Crispy cheesy hash brown patties offer a delightful twist on traditional hash browns, adding an extra layer of flavor and texture with the addition of melted cheddar cheese. They’re easy to make at home with just a handful of ingredients and are sure to impress even the pickiest of eaters. Whether you enjoy them for breakfast, brunch, or as a tasty snack, these hash brown patties are guaranteed to satisfy your cravings.
Summary of Ingredients
- Russet potatoes
- Flour
- Egg
- Butter
- Shredded cheddar cheese
- Salt
- Pepper
- Oil (for frying)
How to Make Crispy Cheesy Hash Brown Patties
- Prepare the Potatoes:
- Bring a pot of water to a boil. Carefully add the peeled potatoes to the pot and boil for 6 minutes.
- Drain the potatoes and rinse with cold water until cool enough to handle.
- Grate the potatoes and add them to a medium-sized bowl.
- Mix the Ingredients:
- To the bowl of grated potatoes, add flour, egg, softened butter, shredded cheddar cheese, salt, and pepper. Mix until everything is well combined.
- Form the Patties:
- Use a greased 1/3 cup measuring cup to portion out the mixture and form into patties with your hands. Press firmly to compact the mixture.
- Cook the Hash Brown Patties:
- Heat a few tablespoons of oil in a large skillet over medium-high heat.
- Add the hash brown patties to the skillet in batches, cooking for 3 minutes on each side, or until golden brown and crispy.
- Add more oil to the skillet as needed to prevent sticking.
- Transfer the cooked hash brown patties to a paper towel-lined plate to drain excess oil.
- Serve Hot:
- Serve the crispy cheesy hash brown patties hot, alongside your favorite breakfast dishes or as a tasty snack.
Serving Suggestions
Crispy cheesy hash brown patties are delicious on their own or served alongside eggs, bacon, sausage, or fresh fruit for a complete breakfast or brunch. They also make a tasty side dish for lunch or dinner.
Storage Information
Any leftover hash brown patties can be stored in an airtight container in the refrigerator for up to 3 days. Reheat them in a skillet or toaster oven until warmed through before serving.
Techniques or Tips
- Be sure to grate the potatoes finely to ensure they cook evenly and form crispy patties.
- Press the hash brown patties firmly with your hands to compact the mixture and help them hold their shape while cooking.
- Use a non-stick skillet and enough oil to prevent the patties from sticking and to achieve a crispy exterior.
Variation
Feel free to customize the hash brown patties by adding additional ingredients such as diced onions, bell peppers, or cooked bacon for extra flavor and texture. You can also experiment with different types of cheese, such as Monterey Jack or pepper jack, for a unique twist.
FAQs about Crispy Cheesy Hash Brown Patties
Q: Can I use other types of potatoes for this recipe? A: While russet potatoes are traditionally used for hash browns due to their high starch content, you can also use Yukon Gold or other varieties if preferred. Just keep in mind that the texture may vary slightly.
Q: Can I bake the hash brown patties instead of frying them? A: Yes, you can bake the hash brown patties in the oven at 375°F (190°C) for about 20-25 minutes, flipping halfway through, until golden brown and crispy. Brush them with a little oil before baking for extra crispiness.
Q: Can I freeze the hash brown patties? A: Yes, you can freeze the uncooked hash brown patties on a baking sheet until firm, then transfer them to a freezer-safe bag or container for up to 3 months. When ready to cook, thaw them in the refrigerator overnight before frying or baking as directed.
For ingredients and comprehensive cooking instructions, please proceed to the next page or click the open button (>)—and be sure to share with your Facebook friends!


GIPHY App Key not set. Please check settings