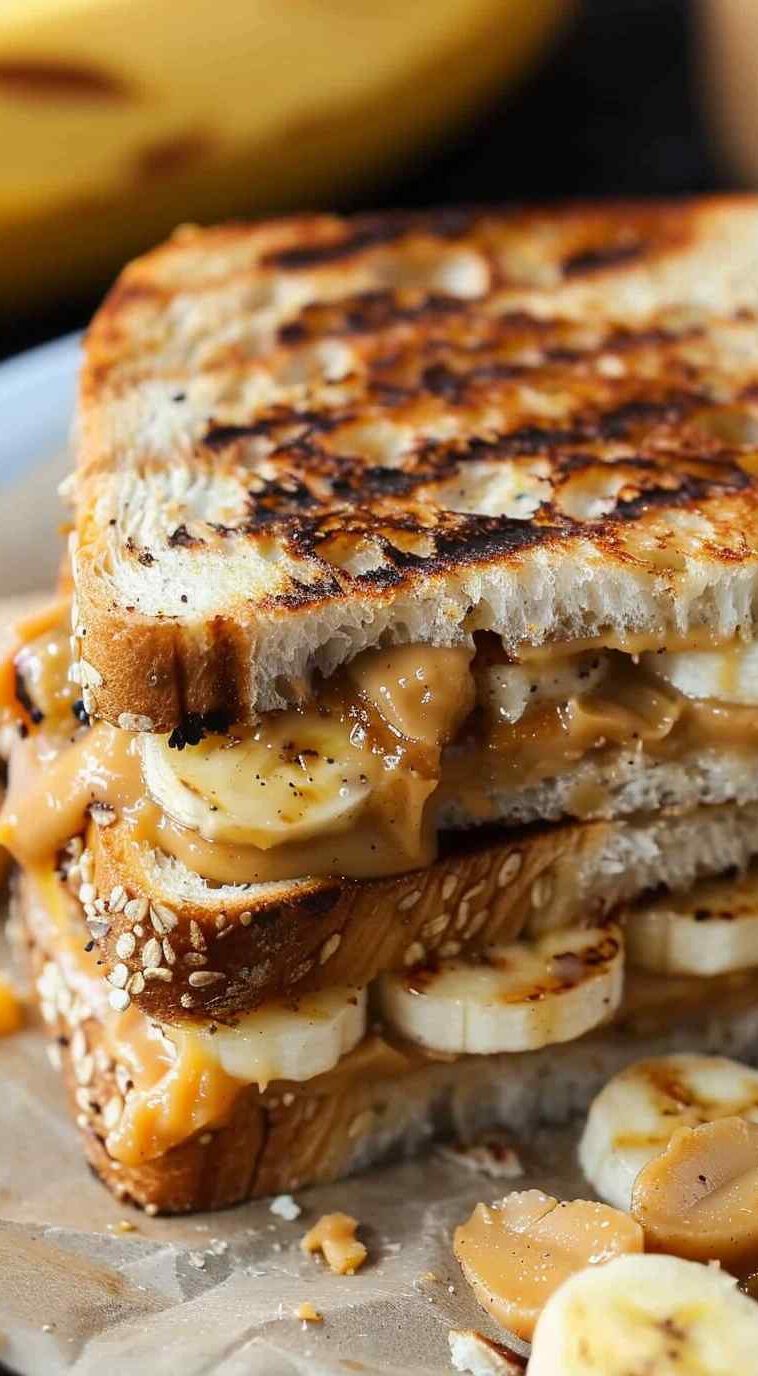
Elevate your sandwich game with our mouthwatering Grilled Peanut Butter and Banana Sandwich recipe. This indulgent twist on a classic combines creamy peanut butter, fresh bananas, and a hint of cinnamon sugar, all sandwiched between slices of buttery golden bread. Perfect for breakfast, lunch, or a satisfying snack, this grilled sandwich is sure to become a favorite in your kitchen.
Why Make Grilled Peanut Butter and Banana Sandwich
Grilled Peanut Butter and Banana Sandwich offers a delightful combination of flavors and textures that are both comforting and satisfying. The creamy peanut butter provides richness and nuttiness, while the fresh bananas add sweetness and a hint of natural freshness. Grilling the sandwich creates a crispy exterior and a warm, gooey interior, making it a comforting treat that’s perfect for any time of day.
How to Make Grilled Peanut Butter and Banana Sandwich
Note: In this section only generate the instructions.
- Preparation:
- Spread a generous layer of softened butter on one side of each bread slice. This will create a golden crust when grilled.
- On the other side of each bread slice, spread a hearty layer of creamy peanut butter.
- Assembly:
- Place thinly sliced bananas on the peanut butter side of half of the bread slices.
- Top with the remaining bread slices, butter side out, to form sandwiches.
- Cooking:
- Heat a large cast iron skillet or nonstick skillet over medium heat.
- Once hot, place two sandwiches in the skillet.
- Cook for about 2 minutes on each side, or until the bread is golden brown and the peanut butter has melted slightly, creating a gooey filling.
- Finishing Touches:
- Transfer the cooked sandwiches to a plate.
- Immediately sprinkle each sandwich with cinnamon sugar for a sweet and spiced finish.
Serving Suggestions
Serve Grilled Peanut Butter and Banana Sandwich as a delicious and satisfying meal or snack. Pair it with a glass of cold milk, a cup of hot cocoa, or your favorite hot beverage for a comforting treat. This sandwich is also perfect for picnics, brunches, or as a simple yet indulgent dessert.
Storage Info
Grilled Peanut Butter and Banana Sandwich is best enjoyed fresh and hot from the skillet. However, if you have leftovers, you can store them in an airtight container in the refrigerator for up to one day. Reheat the sandwiches in a toaster oven or skillet until warmed through before serving.
Techniques or Tips
- Use ripe bananas for the best flavor and texture in this sandwich.
- Adjust the amount of peanut butter and bananas according to your taste preferences.
- For added indulgence, consider adding a drizzle of honey or a sprinkle of chopped nuts before grilling.
Variation
Customize your Grilled Peanut Butter and Banana Sandwich by adding additional ingredients or toppings. Try adding a layer of honey or maple syrup for extra sweetness, or sprinkle the peanut butter with chocolate chips for a decadent twist. You can also experiment with different types of bread, such as whole wheat, sourdough, or brioche, for unique flavor combinations.
FAQs about Grilled Peanut Butter and Banana Sandwich
Q: Can I use crunchy peanut butter instead of creamy? A: Yes, you can use crunchy peanut butter for added texture and nuttiness in this sandwich. Feel free to use your favorite type of peanut butter according to your preference.
Q: Can I make this sandwich ahead of time? A: While it’s best to enjoy Grilled Peanut Butter and Banana Sandwich fresh and hot, you can prepare the sandwiches in advance and grill them just before serving. Assemble the sandwiches as instructed, wrap them tightly in foil or plastic wrap, and store them in the refrigerator until ready to grill.
Q: Can I grill this sandwich on a panini press? A: Yes, you can use a panini press to grill this sandwich for a quicker and more evenly cooked result. Simply preheat the panini press, place the assembled sandwiches inside, and grill according to the manufacturer’s instructions until golden brown and crispy.
For ingredients and comprehensive cooking instructions, please proceed to the next page or click the open button (>)—and be sure to share with your Facebook friends!


GIPHY App Key not set. Please check settings