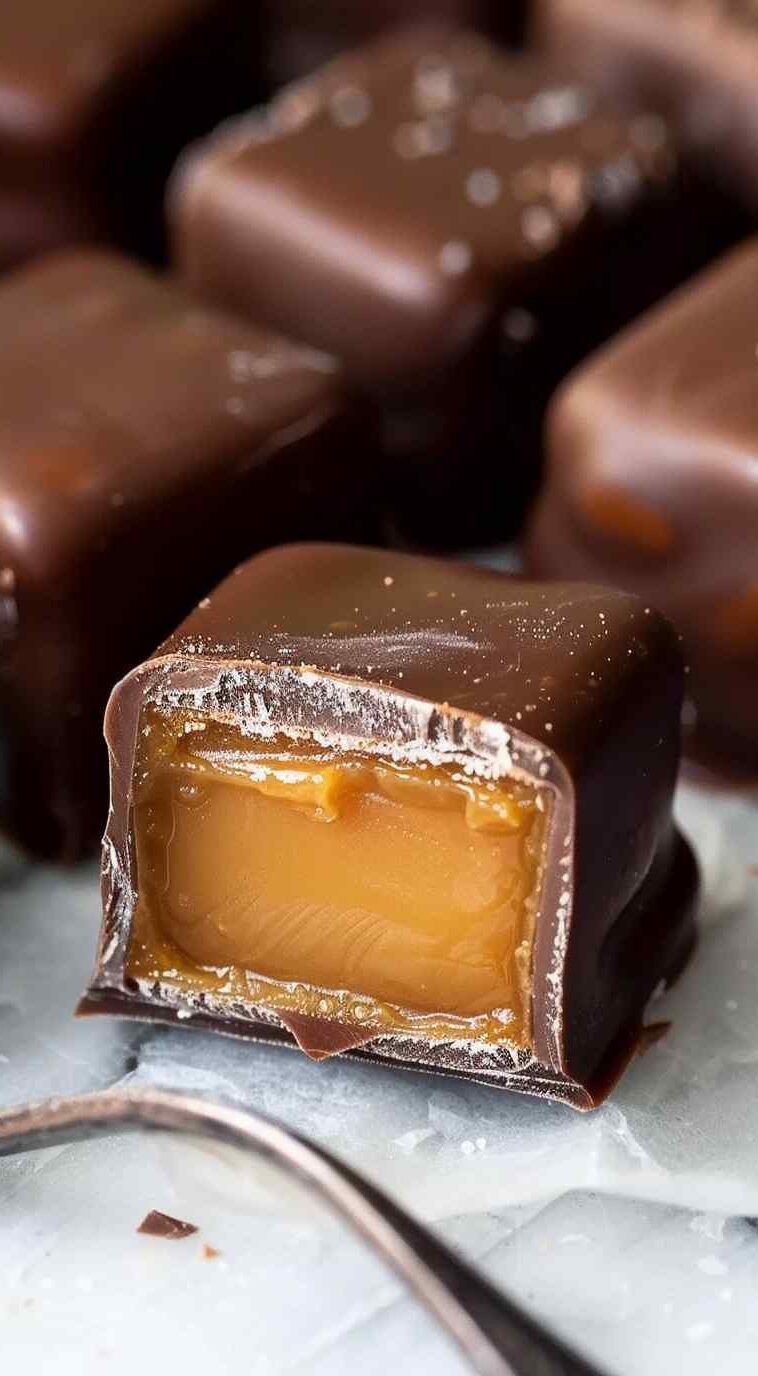
Chocolate Covered Caramels are a delightful indulgence, combining the rich, buttery flavor of homemade caramel with the decadence of smooth chocolate. These bite-sized treats make for perfect gifts, party favors, or simply a luxurious treat for yourself. With a few simple ingredients and a bit of patience, you can create these irresistible sweets in your own kitchen.
Why Make Chocolate Covered Caramels
Chocolate Covered Caramels offer a delightful contrast of flavors and textures, with the creamy sweetness of caramel enveloped in a shell of rich, velvety chocolate. Homemade caramels have a depth of flavor that surpasses store-bought varieties, and when paired with high-quality chocolate, they become an irresistible confection that is sure to impress.
How to Make Chocolate Covered Caramels
- Prepare the Caramel Mixture: In a dutch oven with a candy thermometer attached, combine sugar, heavy cream, corn syrup, butter, and salt over medium heat. Whisk well until the mixture comes to a boil, then reduce the heat to medium-low. Continue whisking until it reaches 250 degrees Fahrenheit.
- Add Vanilla Extract: Turn off the heat and stir in the vanilla extract. Pour the mixture into a 13×18 baking pan and allow it to harden for 4-6 hours before cutting into pieces.
- Chill the Caramels: Refrigerate the caramels for an hour before dipping to prevent them from melting too quickly.
- Dip in Chocolate: Melt the chocolate disks in 30-second increments until smooth. Using a fork, dip each caramel piece into the melted chocolate, then place them on a sheet of wax paper or parchment paper to harden.
Serving Suggestions
Serve these Chocolate Covered Caramels as a sweet ending to a dinner party, package them up as gifts for friends and family, or enjoy them as a special treat with a cup of coffee or hot cocoa.
Storage Info
Store Chocolate Covered Caramels in an airtight container at room temperature for up to two weeks. For longer storage, they can be refrigerated for up to a month or frozen for up to three months.
Tips and Techniques
- Use a candy thermometer to ensure that the caramel reaches the correct temperature for the desired consistency.
- Be patient when melting the chocolate, as overheating can cause it to seize or become grainy.
- For a decorative touch, sprinkle chopped nuts, sea salt, or colored sprinkles over the chocolate before it sets.
Variation
Experiment with different types of chocolate, such as milk chocolate or white chocolate, to create a variety of flavor combinations. You can also add chopped nuts, coconut flakes, or dried fruit to the caramel mixture for added texture and flavor.
FAQs about Chocolate Covered Caramels
- Can I use store-bought caramel instead of making it from scratch? While store-bought caramel can be used, homemade caramel offers a richer flavor and smoother texture that enhances the overall taste of the Chocolate Covered Caramels.
- How can I prevent the caramel from sticking to the pan? Grease the baking pan lightly with butter or cooking spray before pouring in the caramel mixture to prevent it from sticking.
- Can I use milk chocolate instead of semisweet chocolate? Yes, you can use milk chocolate if you prefer a sweeter flavor. Adjust the amount of sugar in the caramel mixture accordingly to balance the sweetness.
For ingredients and comprehensive cooking instructions, please proceed to the next page or click the open button (>)—and be sure to share with your Facebook friends!


GIPHY App Key not set. Please check settings