 By Natalie
In this recipe
why make this recipe
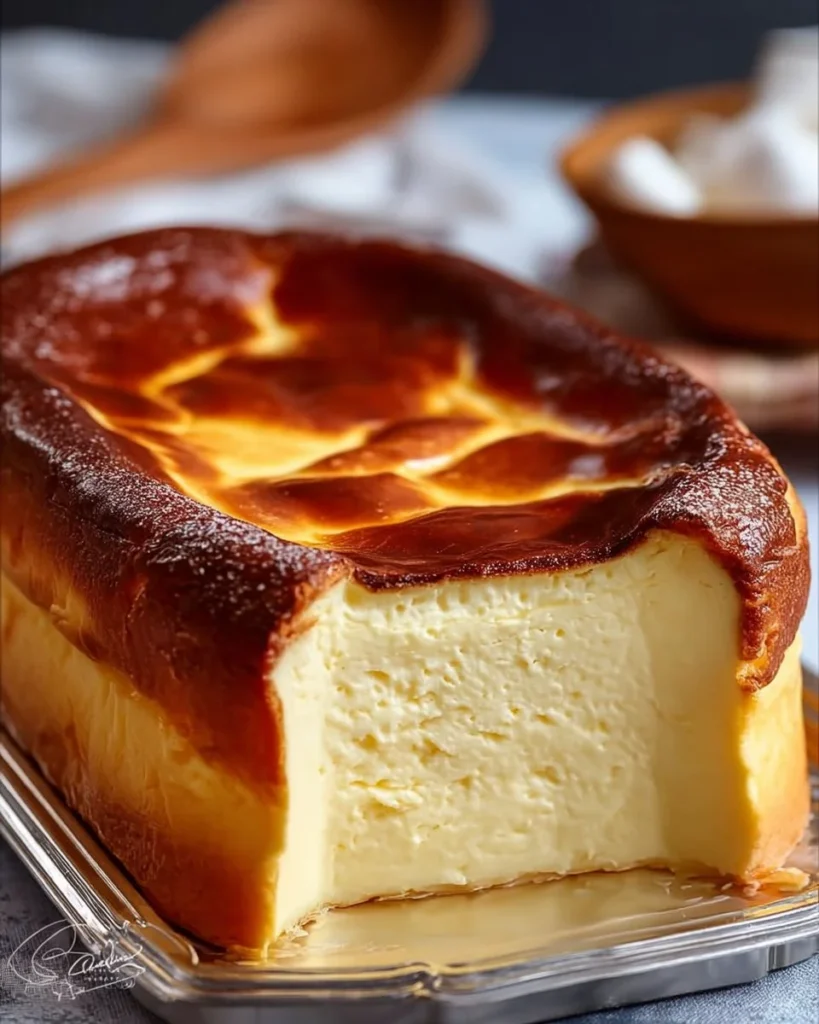
Super Creamy Burnt Cheesecake is a delightful twist on traditional cheesecake. It has a rich, creamy texture and a beautifully caramelized top. This dessert is perfect for special occasions or just when you want to treat yourself. The simplicity of the ingredients and the ease of preparation make it a great choice for bakers of all skill levels.
how to make Super Creamy Burnt Cheesecake
Ingredients :
- 250g cream cheese
- 60g sugar
- 5g cake flour
- 1 egg yolk
- 1 egg
- 150g whipping cream
Directions :
- Preheat the oven to 200°C (400°F). Grease a 6-inch round springform pan.
- In a mixing bowl, combine the cream cheese, sugar, and cake flour. Mix until smooth.
- Add the egg yolk and whole egg, mixing until fully incorporated.
- Slowly add in the whipping cream while mixing.
- Pour the mixture into the prepared pan and bake for about 25-30 minutes or until the top is caramelized and the center is slightly jiggly.
- Let it cool to room temperature before refrigerating for at least 4 hours.
- Serve chilled and enjoy!
how to serve Super Creamy Burnt Cheesecake
Super Creamy Burnt Cheesecake is best served chilled. Slice it into wedges and place them on dessert plates. You can enjoy it plain or sprinkle some fresh berries on top for added color and flavor. A dollop of whipped cream can also be a nice touch!
FAQs
Q: Can I use low-fat cream cheese?
A: Yes, but the texture may not be as creamy, and the flavor might be slightly different.
Q: Do I need to use a springform pan?
A: A springform pan is recommended for easy removal of the cheesecake, but you can use a regular cake pan if needed, just make sure to line it with parchment paper.
Q: Can I make this cheesecake ahead of time?
A: Yes! This cheesecake can be made a day or two in advance. Just remember to store it properly in the fridge.
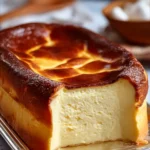
Super Creamy Burnt Cheesecake
Ingredients
Method
- Preheat the oven to 200°C (400°F). Grease a 6-inch round springform pan.
- In a mixing bowl, combine the cream cheese, sugar, and cake flour. Mix until smooth.
- Add the egg yolk and whole egg, mixing until fully incorporated.
- Slowly add in the whipping cream while mixing.
- Pour the mixture into the prepared pan and bake for about 25-30 minutes or until the top is caramelized and the center is slightly jiggly.
- Let it cool to room temperature before refrigerating for at least 4 hours.
- Slice into wedges and serve chilled on dessert plates, plain or with fresh berries and a dollop of whipped cream.