
Christmas Tree Brownies (Easy Fudgy Holiday Recipe)

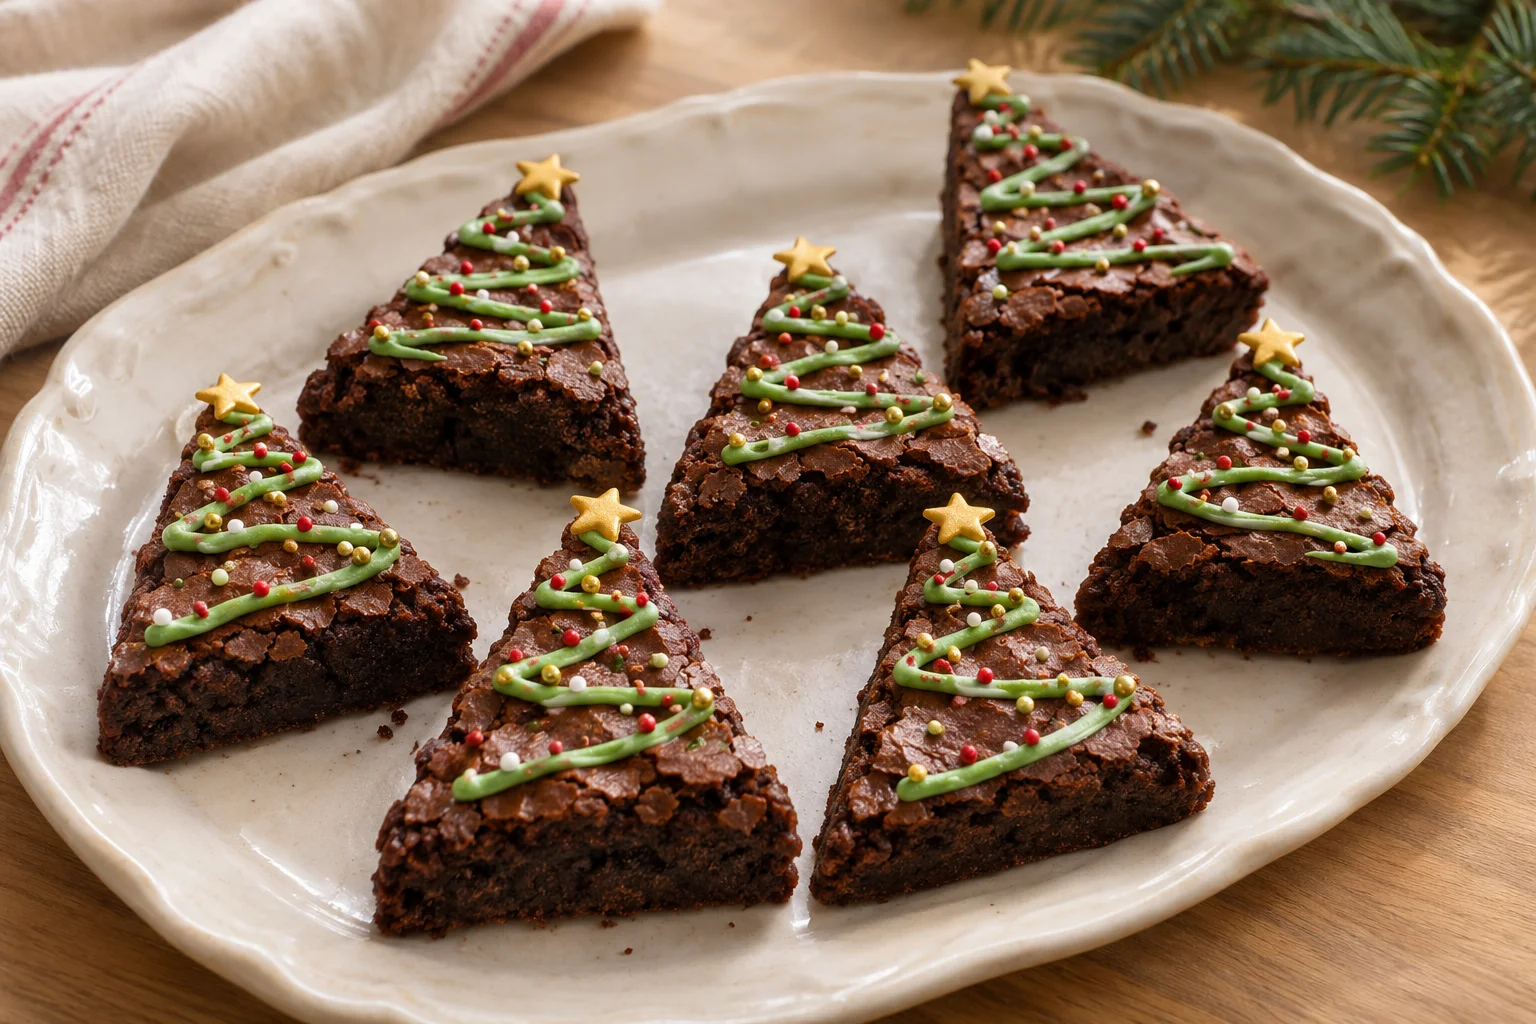
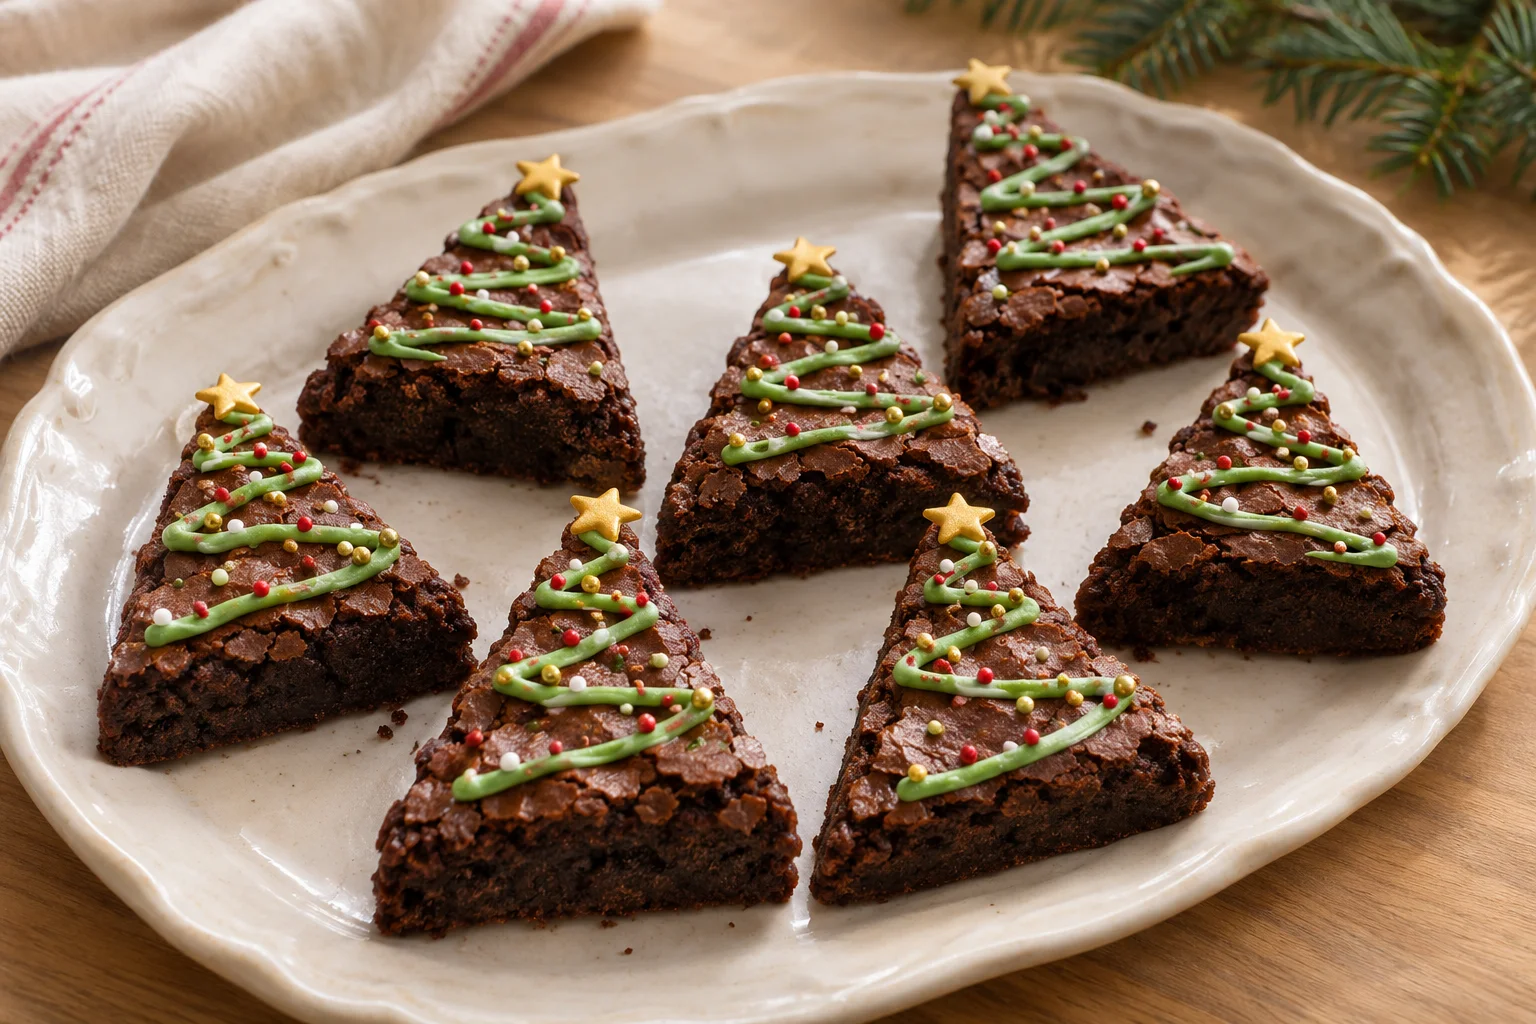
These Christmas tree brownies turn a simple pan of fudgy chocolate brownies into festive treats with green vanilla frosting, colorful sprinkles, and tiny candy stars. Bake the brownies in a round pan, cut them into eight wedges, and decorate each triangle like a Christmas tree. No cookie cutter or special baking mold is needed.
Why make these Christmas brownies?
- Simple shaping: a round pan makes eight generous tree-shaped wedges without leftover scraps.
- Everyday ingredients: cocoa powder provides the chocolate flavor, with no chocolate melting required.
- Easy decorating: a small piping bag or zip-top bag makes the green zigzag.
- Party-friendly: bake the base ahead, then decorate once completely cool.
The brownie base is rich and dense, while a modest amount of vanilla buttercream adds color without hiding the chocolate. The decorating is a fun family project; leave handling the hot pan and slicing to an adult.
Christmas Tree Brownies Recipe
Yield: 8 large brownies · Prep and decorating: 25 minutes · Baking: 25–30 minutes · Cooling: about 90 minutes · Total: about 2 hours 25 minutes
Equipment: 9-inch round metal cake pan, parchment paper, mixing bowl, whisk, spatula, cooling rack, sharp knife, and a piping bag with a small round tip or a zip-top bag.
For the brownies
- 1/2 cup (113 g) unsalted butter, melted and slightly cooled
- 1 cup (200 g) granulated sugar
- 2 large eggs, at room temperature
- 1 teaspoon vanilla extract
- 1/3 cup (30 g) unsweetened natural cocoa powder
- 1/2 cup (60 g) all-purpose flour, spooned and leveled
- 1/4 teaspoon fine salt
For the green frosting and decorations
- 1/4 cup (57 g) unsalted butter, softened
- 3/4 cup (90 g) powdered sugar, sifted
- 1/2 teaspoon vanilla extract
- 1–2 teaspoons milk, as needed
- Green gel food coloring, added a little at a time
- 1 tablespoon red, white, and gold sprinkles
- 8 small edible star sprinkles, optional
Ingredient notes: Use unsweetened cocoa, not hot cocoa mix. Gel coloring gives the frosting a stronger green color without adding much liquid. If using salted butter in the brownie batter, omit the added salt. Check sprinkle packaging to make sure all decorations are edible.
How to Make Christmas Tree Brownies
1. Prepare the pan and oven
Heat the oven to 350°F (175°C) with a rack in the middle. Grease a 9-inch round metal cake pan and line the base with a parchment circle. For easier lifting, place two overlapping parchment strips underneath the circle, letting the ends extend above the rim.
2. Mix the brownie batter
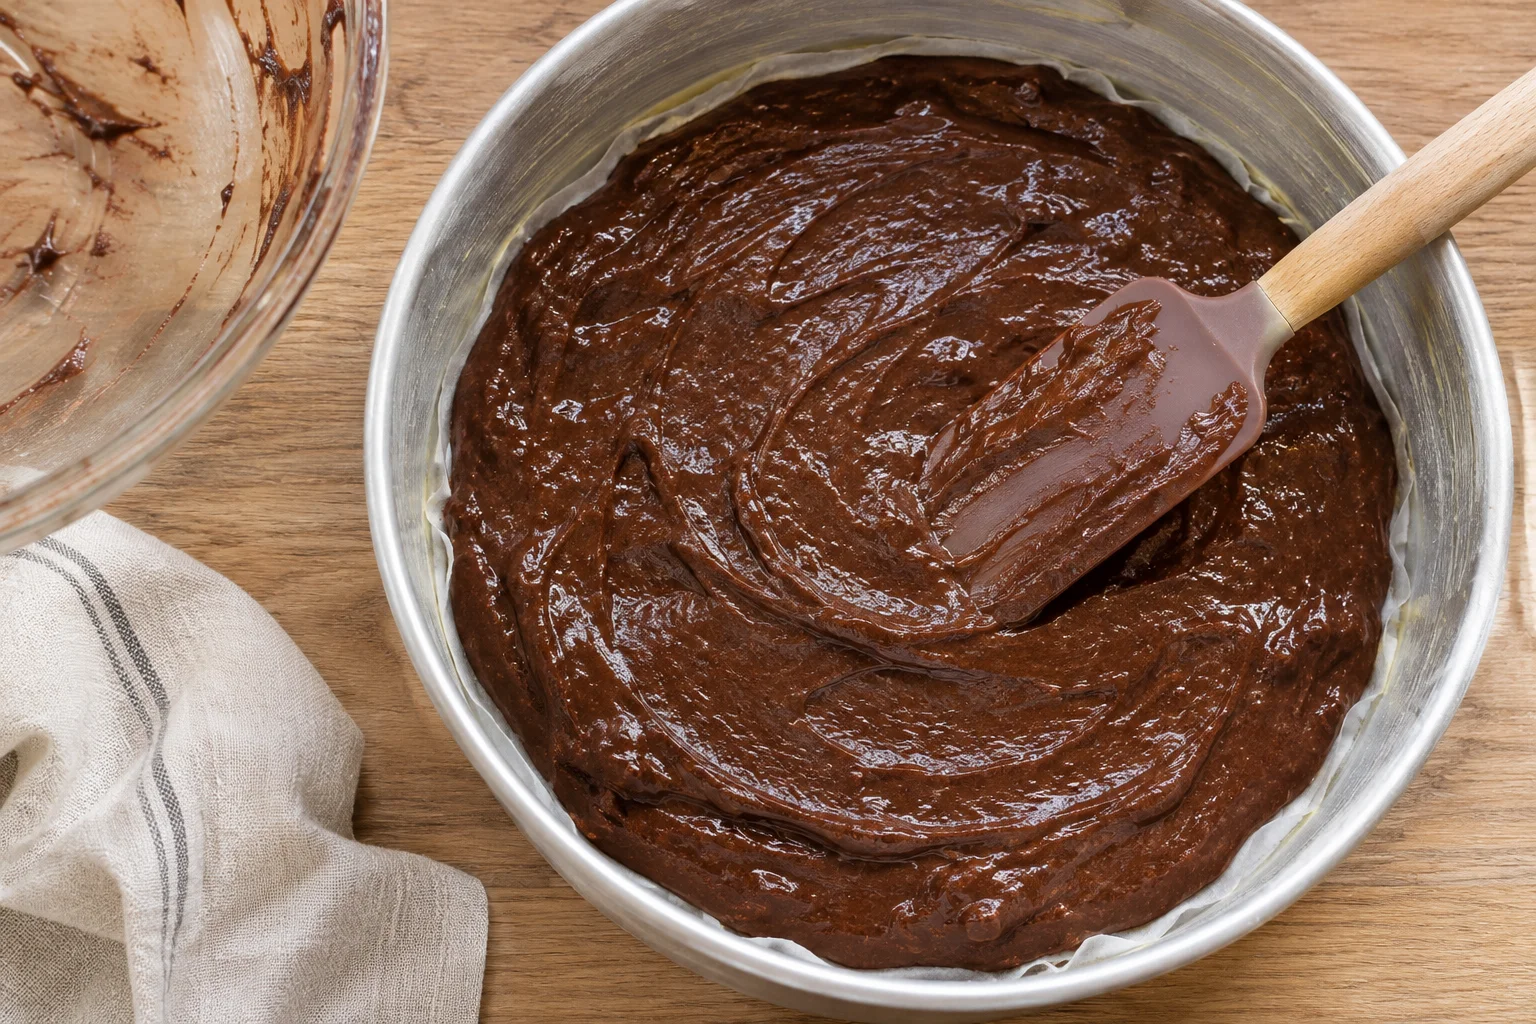
Whisk the melted, slightly cooled butter with the granulated sugar. Add the eggs and vanilla and whisk for about 1 minute, until smooth and slightly thickened. Sift in the cocoa powder, flour, and salt. Fold gently with a spatula just until no dry streaks remain; avoid beating after adding the flour. Spread the thick batter evenly in the prepared pan.
3. Bake, then cool completely
Bake for 25–30 minutes, checking at 25 minutes. The edges should be set and a toothpick inserted near the center should come out with moist crumbs, not wet batter. Oven temperatures and pan materials vary, so use these visual cues as well as the timer. Let the brownies cool in the pan on a rack until completely cool, about 90 minutes. Warm brownies will crumble when sliced and melt the frosting.
4. Cut eight tree-shaped wedges
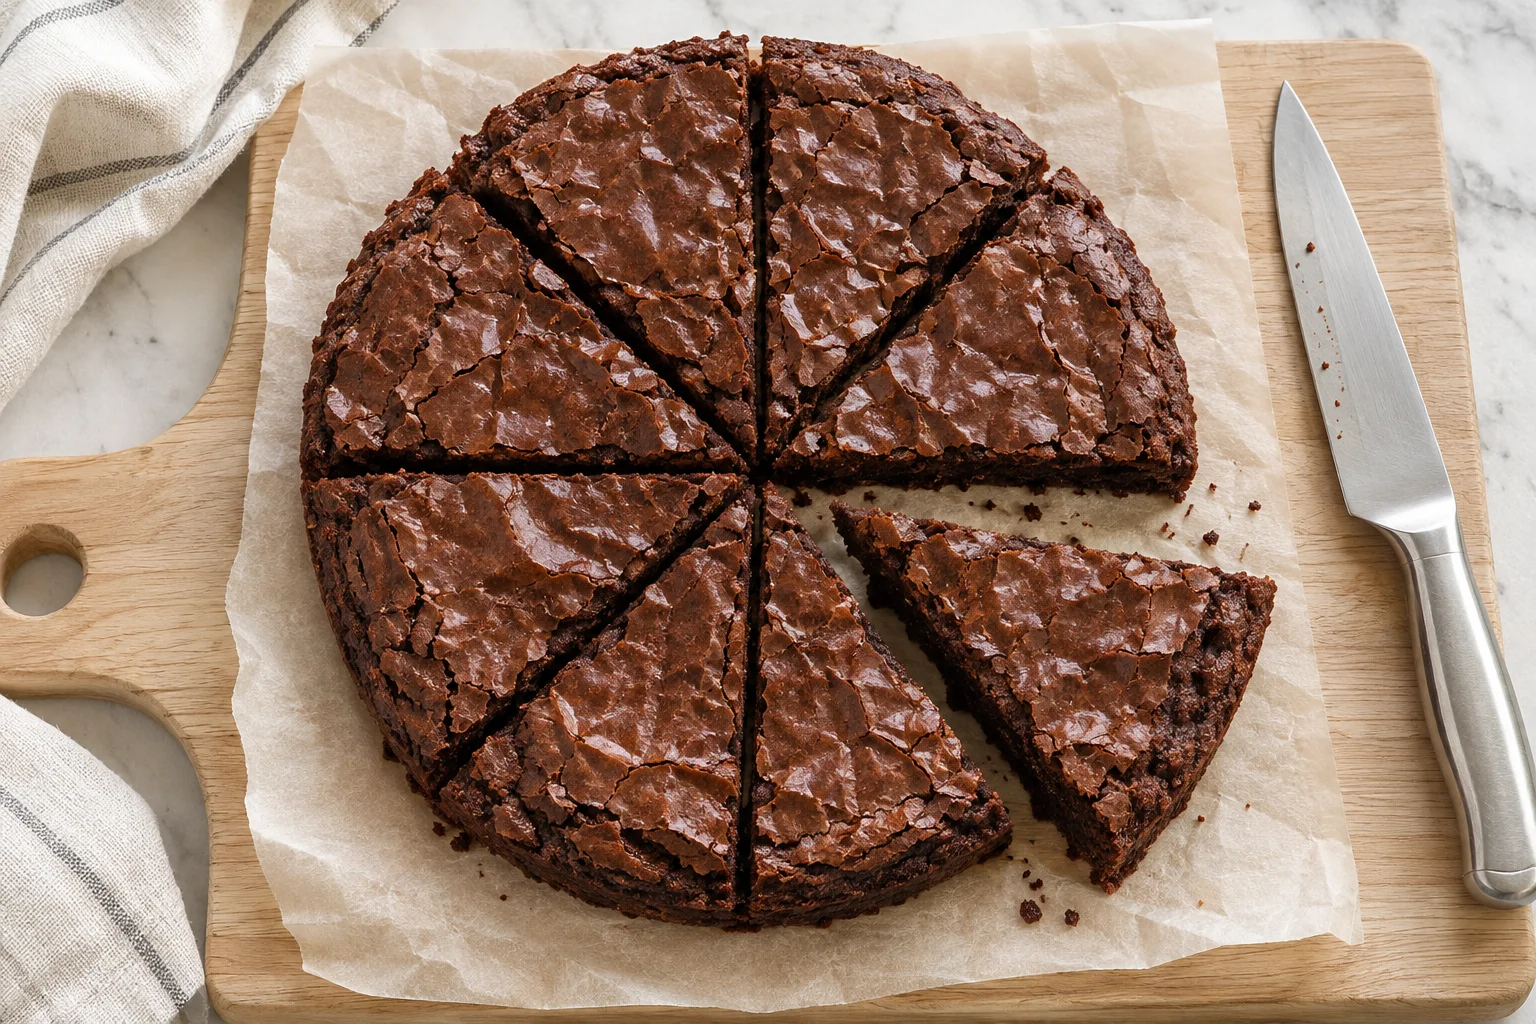
Loosen the edge with a thin spatula and lift the cooled brownie out using the parchment strips. Transfer to a cutting board. Cut the circle in half, then into quarters, then cut each quarter in half to make eight equal wedges. Wipe the knife clean between cuts. For especially neat edges, chill the cooled brownie for 20 minutes before slicing.
5. Make the green vanilla frosting
Beat the softened butter until smooth. Add the powdered sugar gradually, then the vanilla and 1 teaspoon of milk. Beat until creamy. Add green gel coloring a little at a time. The frosting should hold a thin piped line; add the remaining milk only if needed. If it becomes too soft, chill it briefly before piping.
6. Decorate the Christmas trees
Transfer the frosting to a piping bag fitted with a small round tip, or snip a small corner from a zip-top bag. Start at the pointed end of each brownie and pipe a green zigzag, making the lines wider toward the base. Add sprinkles immediately and place an edible star at the tip. A thin zigzag leaves the crackly chocolate top visible. Let the decorated brownies stand briefly so the frosting firms slightly before moving them.
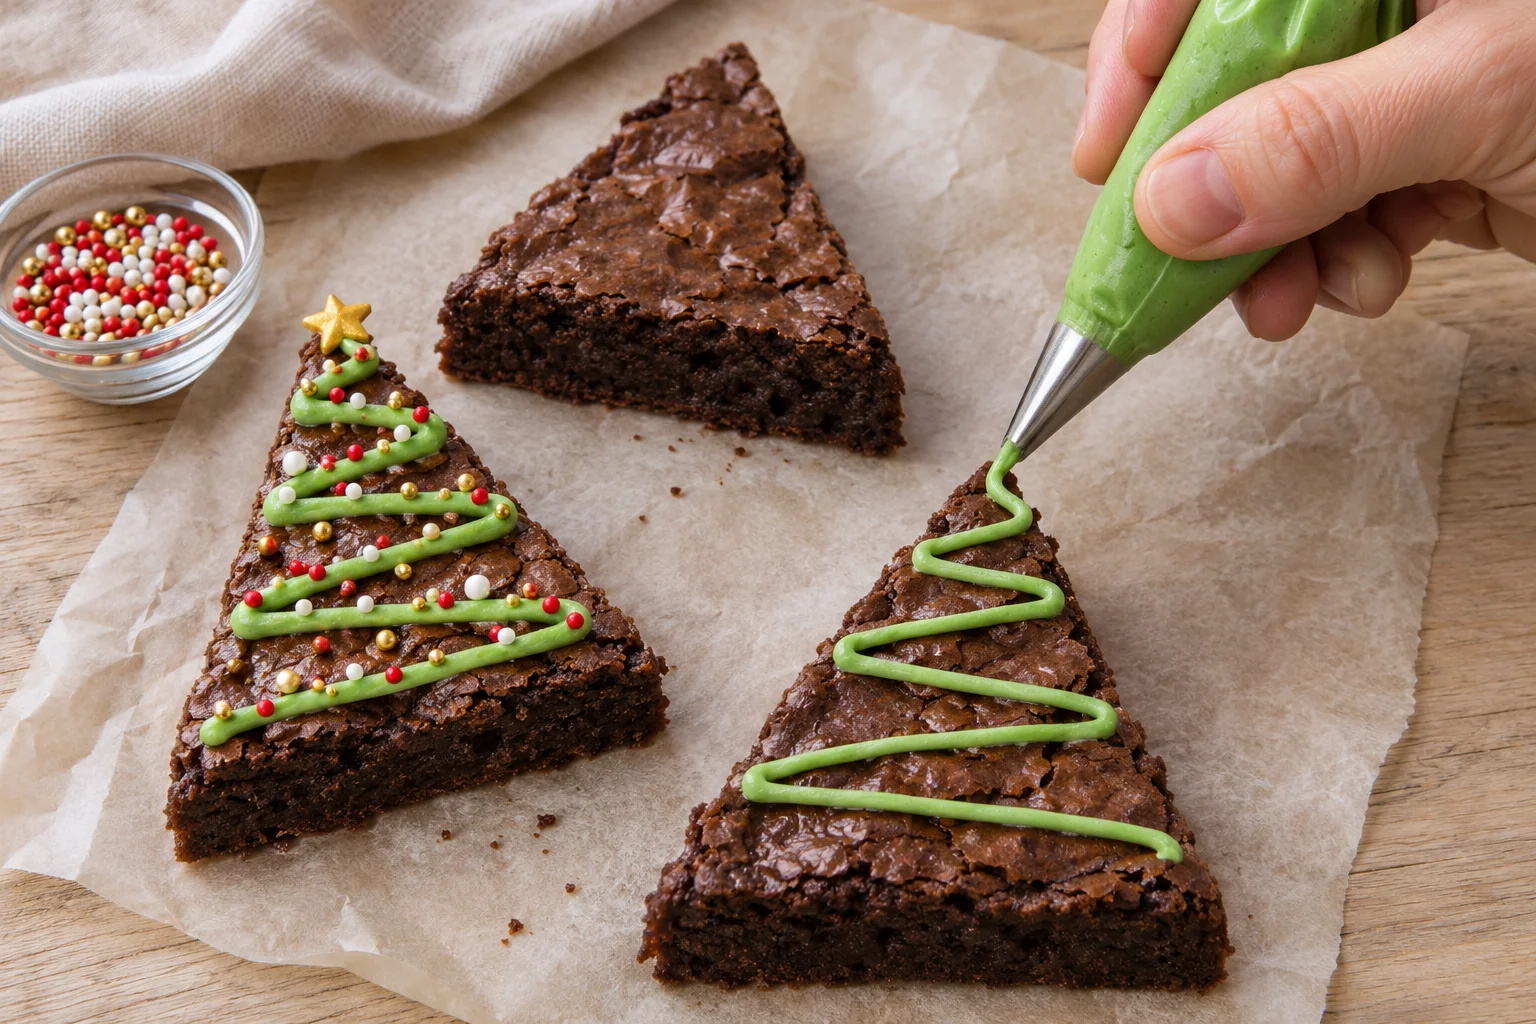
Tips for Fudgy Brownies and Neat Decorations
- Measure the flour carefully. Too much flour makes the brownies dry. Weigh it, or spoon it lightly into the measuring cup and level the top.
- Do not overbake. Look for moist crumbs on the tester; a completely dry tester can mean the brownies are past their fudgiest stage.
- Cool before cutting. Cooling is part of the recipe, not an optional shortcut.
- Keep the frosting line thin. A small opening gives better control and prevents the decoration from overwhelming the brownie.
- Use soft butter, not melted butter, for frosting. If the piping slides or spreads, chill the frosting until it holds its shape.
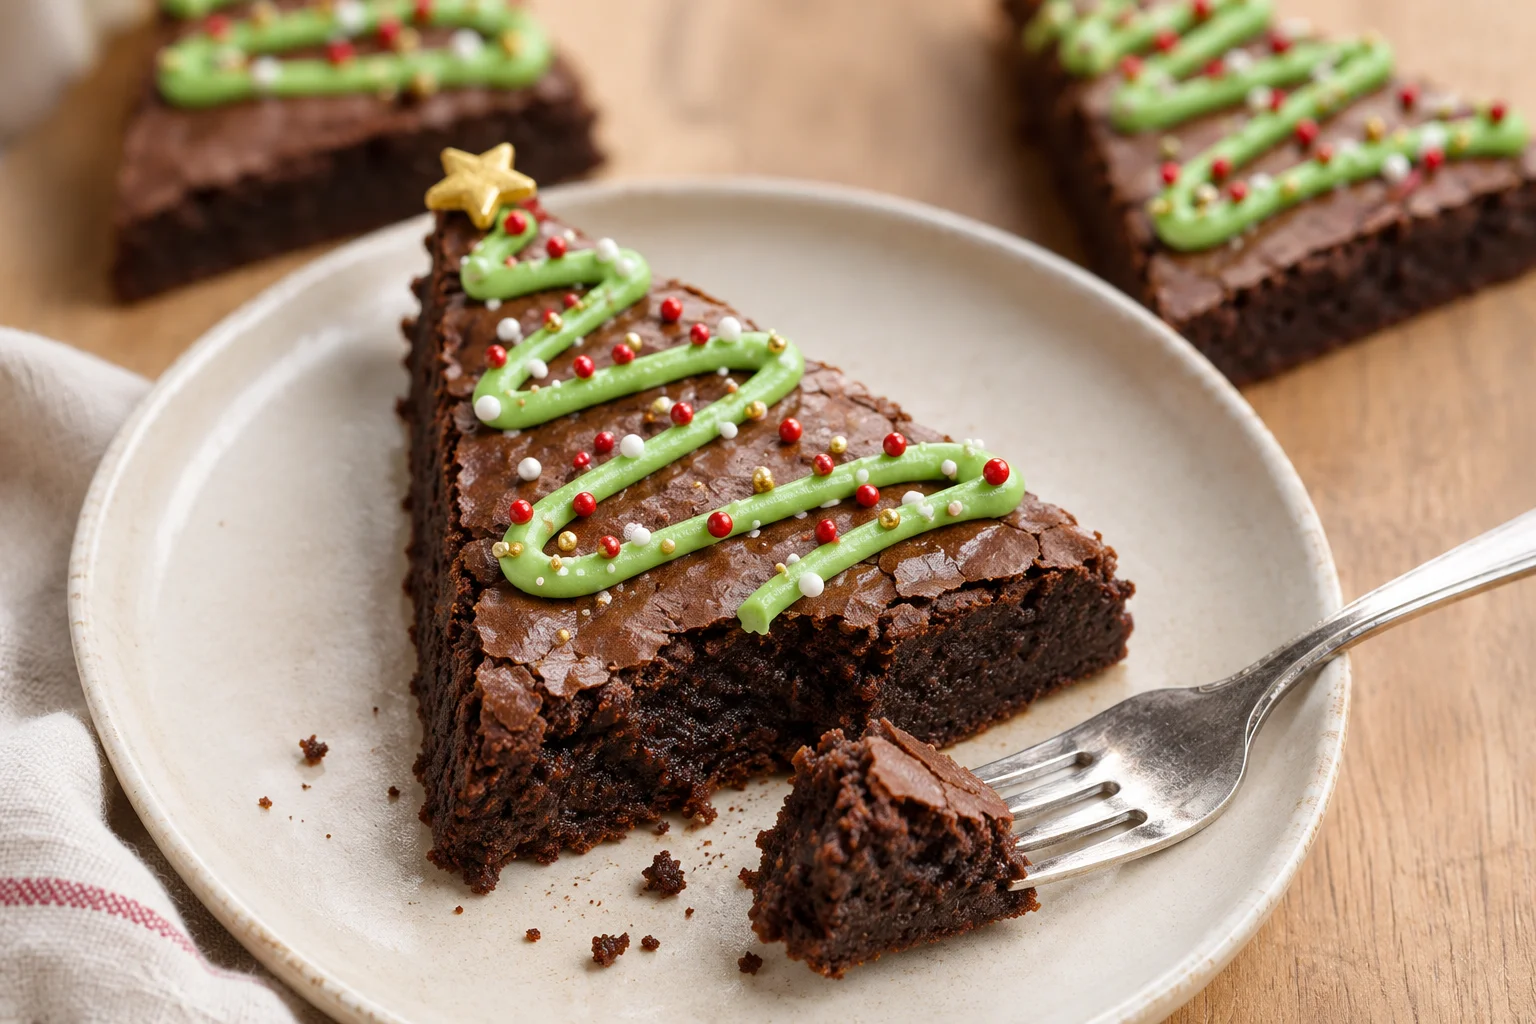
Easy Variations
Boxed-mix shortcut: Use a brownie mix suitable for a 9-inch round pan, following its package directions, ingredient amounts, and baking time. Cool completely and use the decorating instructions above. Do not assume a larger family-size mix fits the same pan.
Snowy trees: Leave the frosting white and finish with red and green sprinkles. Chocolate trees: Use chocolate frosting instead of green vanilla frosting for a different finish. Smaller portions: Cut the round brownie into 12 wedges and decorate with slightly less frosting per piece.
Make-Ahead and Storage
Bake the plain brownies a day ahead, cool completely, and keep tightly covered at room temperature. Once decorated with the milk-containing buttercream, store in a single layer in an airtight container in the refrigerator for up to 4 days. Bring out the portion you plan to serve about 20 minutes beforehand for a softer texture.
For longer storage, wrap undecorated brownies tightly and freeze for up to 2 months. Thaw while wrapped, then decorate after thawing. Freezing the plain brownies helps prevent the sprinkles from bleeding and the frosting from being damaged.
Frequently Asked Questions
Do I need a Christmas tree cookie cutter?
No. Cutting a round brownie into wedges creates the triangle shape, and the green frosting makes each wedge look like a tree.
Can I use a square pan?
An 8-inch square pan has a similar area to a 9-inch round pan and can work for this batter. Start checking at 25 minutes. Cut the cooled slab into two strips, then cut alternating triangles; there will be small offcuts at the ends.
Why did my brownie trees break?
They may have been sliced while warm or baked too long. Let the brownie cool fully, chill briefly if needed, and use a sharp knife with a gentle downward cut.
Can I decorate these without a piping tip?
Yes. Put the frosting in a zip-top bag, press it into one corner, and snip a very small opening. Practice a short zigzag on parchment before decorating the brownies.
More Homemade Dessert Ideas
Round out your holiday baking plate with Sugar Cookie Truffles, or browse the dessert collection for more sweet treats.
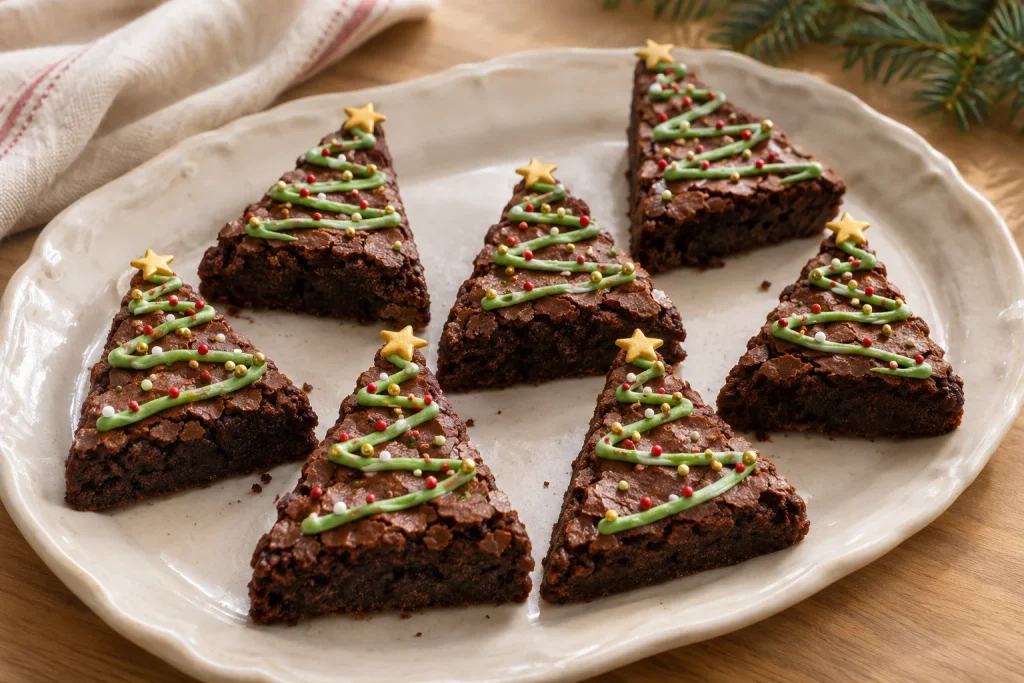
Christmas Tree Brownies
Ingredients
Method
- Preheat the oven to 350°F (175°C) and grease a 9-inch round metal cake pan, lining the base with parchment paper.
- Whisk the melted butter with granulated sugar. Add eggs and vanilla, whisk until smooth and slightly thickened.
- Sift in cocoa powder, flour, and salt, folding gently until no dry streaks remain. Spread the batter evenly in the prepared pan.
- Bake for 25–30 minutes, checking at 25 minutes. The edges should be set; a toothpick inserted near the center should come out with moist crumbs.
- Let the brownies cool in the pan on a rack for about 90 minutes.
- Loosen the brownies from the edge, lift out using parchment strips, and transfer to a cutting board.
- Cut into eight equal wedges.
- Beat softened butter until smooth. Gradually add powdered sugar, then vanilla and 1 teaspoon of milk until creamy.
- Add green gel food coloring a little at a time until desired color is achieved.
- Transfer the frosting to a piping bag or zip-top bag. Pipe a green zigzag on each brownie and add sprinkles and a star sprinkle on top.
- Let the decorated brownies stand briefly so the frosting firms slightly before moving them.


