 By Natalie
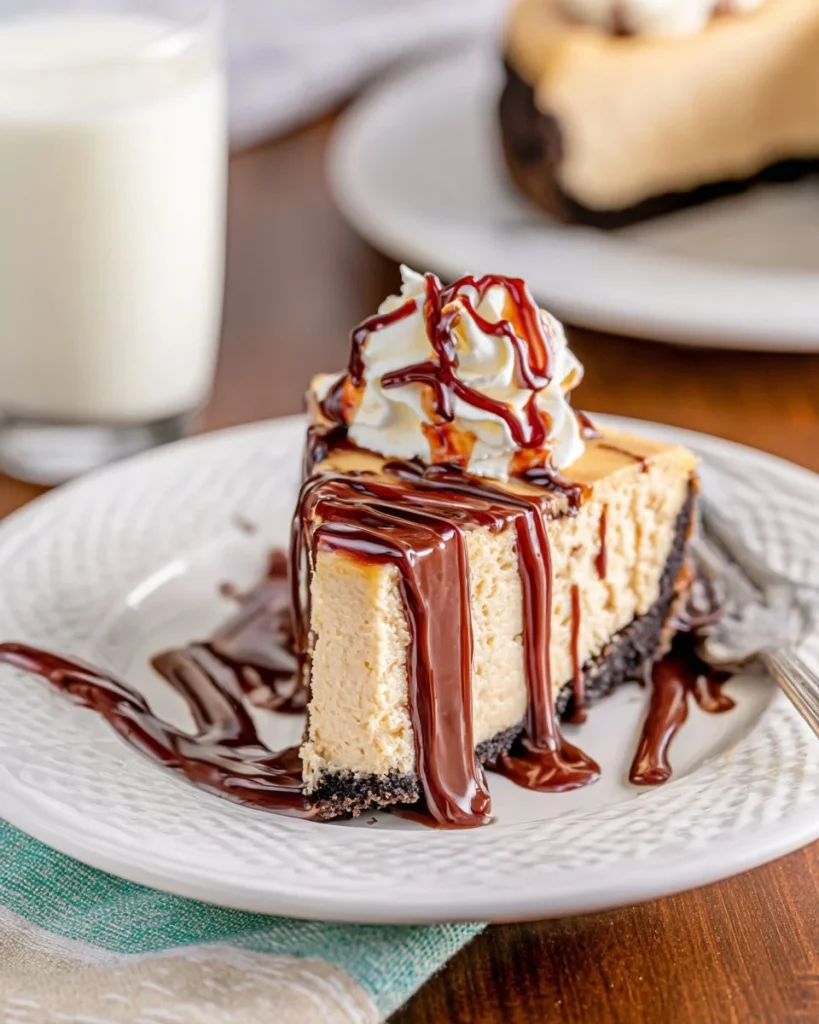
I still remember the first time I made this no-bake peanut butter pie — it disappeared faster than I could slice it. It’s a creamy, lightly sweet filling built on a chocolate cookie crust, and it’s the kind of dessert you can pull together without turning on the oven. Make it for potlucks, weeknight treats, or when you want a showstopper that’s actually easy. If you want another perspective on the recipe’s origin or a slightly different technique, check the original recipe page I referenced while testing variations.
In this recipe
What makes this recipe special
This pie nails the peanut-butter-and-chocolate combo with minimal fuss. No baking means less hands-on time and no oven heat to worry about, so it’s ideal for hot days, last-minute gatherings, or when you need a dessert that can rest in the fridge while you tackle other dishes. It’s kid-approved, budget-friendly (pantry staples for many), and adaptable — swap toppings or make it gluten-free easily.
“A creamy peanut butter filling with a chocolate-cookie base — every bite hits like a nostalgic, grown-up PB&J.” — home baker review
How this recipe comes together
Before diving into ingredients, here’s a quick overview so you know the workflow:
- Make a chocolate-cookie crust from crushed Oreos and melted butter, then chill it to set.
- Whip heavy cream to stiff peaks for lift and lightness.
- Beat softened cream cheese with powdered sugar, peanut butter, and vanilla until smooth.
- Fold the whipped cream into the peanut butter mixture for a silky texture.
- Pour into the chilled crust and refrigerate until firm (4 hours or overnight).
Gather these items
- 24 Oreos (or chocolate sandwich cookies) — for a sturdy, chocolatey crust. For gluten-free, use gluten-free chocolate sandwich cookies.
- 4 tablespoons salted butter, melted — packs the crumbs together. Use unsalted plus a pinch of salt if preferred.
- 1 cup heavy whipping cream — must be cold for best whipping results.
- 8 ounces cream cheese, softened — room temperature ensures a lump-free filling.
- 1 cup powdered sugar — sift if it’s clumpy.
- 1/2 cup creamy peanut butter — creamy gives the smoothest texture; natural PB can be used but may change texture and sweetness.
- 1 1/2 teaspoons vanilla extract — balances flavors.
If you want ingredient substitutions or alternate ideas, see these additional ingredient notes I collected while testing.
Step-by-step instructions
- Pulse the Oreos in a food processor until you have fine crumbs.
- Stream the melted butter into the processor while pulsing until the crumbs are evenly moistened.
- Press the crumbs firmly into the bottom and up the sides of a 9-inch pie plate. Use the flat bottom of a measuring cup to pack the crust tightly.
- Freeze the crust for 30 minutes to set.
- Pour the cold heavy cream into a large bowl and whip with a mixer to stiff peaks. Set aside.
- Beat the softened cream cheese in a clean bowl with an electric hand mixer until smooth.
- Add the powdered sugar gradually and mix until fully incorporated.
- Add the peanut butter and vanilla, mixing until combined and silky.
- Gently fold the whipped cream into the peanut butter mixture until no streaks remain. Use a rubber spatula and fold with gentle strokes to keep the filling airy.
- Pour the filling into the chilled crust and smooth the top.
- Cover with plastic wrap and chill in the refrigerator for at least 4 hours, preferably overnight, until firm.
- Slice and serve with toppings of your choice. Enjoy!
For visual step cues and photos to follow along with each action, I also referenced a helpful set of step-by-step photos while making mine.
Best ways to enjoy it
- Top with a cloud of whipped cream, chopped salted peanuts, and a drizzle of melted chocolate for contrast.
- Add crushed peanut butter cups or a sprinkle of flaky sea salt for texture.
- Serve with fresh berries on the side to cut the richness.
- Pair slices with strong coffee or an espresso martini to balance the sweetness.
Your questions answered
Q: How long does the pie need to set?
A: At least 4 hours in the fridge; overnight gives the best texture and clean slices.
Q: Can I use natural peanut butter?
A: Yes, but natural peanut butter has more oil and can make the filling a bit looser and less sweet. Chill well and consider adding a tablespoon more powdered sugar if you prefer a sweeter filling.
Q: Is it safe to freeze this pie?
A: Yes — freeze wrapped tightly for up to 1 month. Thaw in the refrigerator overnight for best texture.
Q: Can I make this ahead for a party?
A: Absolutely. Make it a day ahead and keep it refrigerated. If you need to transport it, keep it chilled in a cooler until serving.
Conclusion
If you want a few alternate takes and presentation ideas, The BakerMama’s no-bake peanut butter pie offers a similar, well-loved version with tips. For extra inspiration on garnishes and texture swaps, check out Fantabulosity’s BEST no-bake peanut butter pie. To compare a tried-and-true family recipe and notes on chilling and slicing, see the LeMoine Family Kitchen’s recipe.
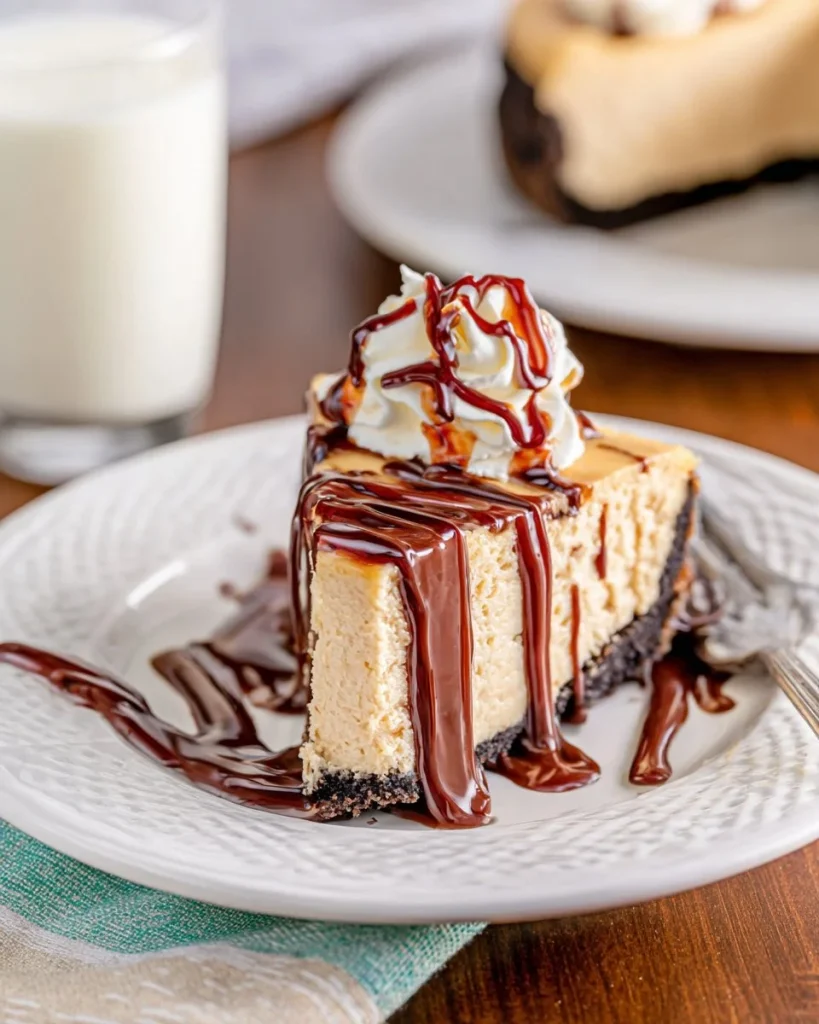
No-Bake Peanut Butter Pie
Ingredients
Method
- Pulse the Oreos in a food processor until you have fine crumbs.
- Stream the melted butter into the processor while pulsing until the crumbs are evenly moistened.
- Press the crumbs firmly into the bottom and up the sides of a 9-inch pie plate using the flat bottom of a measuring cup to pack the crust tightly.
- Freeze the crust for 30 minutes to set.
- Pour the cold heavy cream into a large bowl and whip with a mixer to stiff peaks. Set aside.
- Beat the softened cream cheese in a clean bowl with an electric hand mixer until smooth.
- Add the powdered sugar gradually and mix until fully incorporated.
- Add the peanut butter and vanilla, mixing until combined and silky.
- Gently fold the whipped cream into the peanut butter mixture until no streaks remain using a rubber spatula.
- Pour the filling into the chilled crust and smooth the top.
- Cover with plastic wrap and chill in the refrigerator for at least 4 hours, preferably overnight, until firm.
- Slice and serve with toppings of your choice.