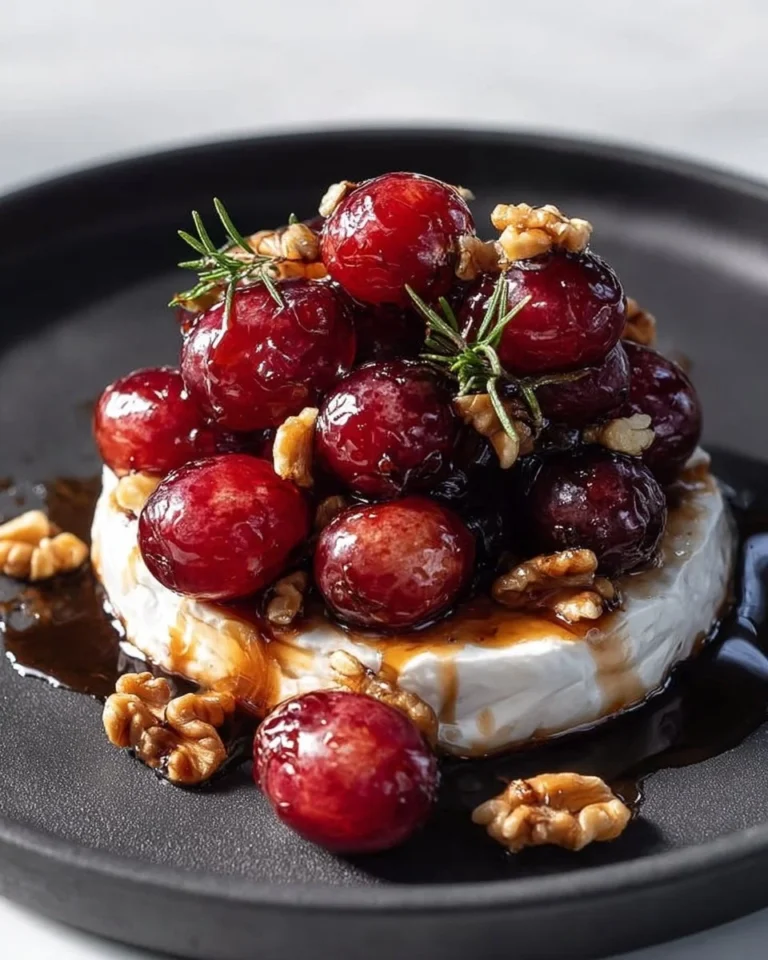
Skellington Cheese Ball Appetizer


Let’s Get Festive with Skellington Cheese Ball Appetizer
Gather around, spooky season enthusiasts! If you’re looking for a delectable and eye-catching appetizer for your Halloween gathering or any autumn-themed event, you’ve stumbled upon a gem. The Skellington Cheese Ball is not just a treat for the palate; it’s a delight for the eyes, too! This playful dish combines rich creaminess with a hint of savory goodness, and the decorative black olive features make it charm the socks off everyone at the table. Trust me—people will be talking about this one long after the evening ends!
Reasons to Try It
The Skellington Cheese Ball is the epitome of easy, crowd-pleasing appetizers. Imagine a tasty cheese spread, jazzed up to fit the Halloween spirit. It’s quick to prepare, budget-friendly, and the best part? Kids love it! This recipe is perfect for a get-together, a family game night, or even a potluck dinner. It’s fun to make with your little goblins while getting into the holiday spirit.
"This Skellington Cheese Ball was a hit at our Halloween party! Everyone adored the flavor, and I had a blast decorating it!" — Happy Home Cook
Preparing Skellington Cheese Ball Appetizer Recipe
This delightful dish comes together in under an hour, and you’ll be pleasantly surprised by how simple it is! Here’s a brief rundown of the steps to set you up for success:
- Combine the cream cheese and cheddar.
- Mix in seasonings for flavor.
- Shape into a ball (yes, the fun part!).
- Chill to firm it up.
- Get creative with olives for decoration.
Ready? Let’s dive into the ingredients you’ll need!
What You’ll Need


To whip up this fun and delicious appetizer, gather the following:
- 2 cups cream cheese (softened)
- 2 cups shredded white cheddar cheese
- 1 teaspoon garlic powder
- 1 teaspoon onion powder
- 1/2 teaspoon black pepper
- Black olives for decoration
Choosing the best ingredients makes a huge difference! I always opt for fresh cream cheese and cheddar, as they really elevate the flavors. Garlic and onion powders add that delightful aromatic touch, while black olives are an easy yet effective way to make Skellington’s face features come alive.
Step-by-Step Instructions
Now, let’s get cooking! Follow these simple directions:
- In a large bowl, mix together the softened cream cheese and shredded cheddar until well blended.
- Sprinkle in the garlic powder, onion powder, and black pepper. Mix thoroughly until evenly distributed.
- Shape the mixture into a ball, making sure it’s compact.
- Wrap the ball in plastic wrap and chill it in the refrigerator for about 1 hour. This allows the cheese to firm up nicely.
- After chilling, remove and use the black olives to create the eyes, nose, and mouth of Skellington!
- Serve on a platter and enjoy watching your guests marvel at your creation.
To ensure everything sticks together nicely, take the time to blend the cheeses well. Chilling is crucial—it not only firms up the cheese ball but also makes the decorating process much easier.
Best Ways to Enjoy It
Once your Skellington Cheese Ball is ready, it’s time to get creative with how you serve it! Consider the following ideas for the perfect presentation:
- Arrange colorful crackers or slices of crusty bread around the cheese ball for a pop of color.
- Serve with fresh veggie sticks for a crunch.
- Pair it with sweet fruit, like grapes or apple slices, for a sweet and savory combination.
Let your imagination run wild, and don’t forget to take some fabulous photos before it disappears!
Keeping Leftovers Fresh
Storing leftovers properly is key to enjoying this cheese ball even after the party. To keep it fresh:
- Cover tightly with plastic wrap or aluminum foil.
- Store in the fridge, where it will keep for up to 3 days.
- If you have a lot remaining, you can freeze it—just note that the texture might change slightly once thawed.
Handy Chef Tips
Here are a few pro tips to make sure your Skellington Cheese Ball turns out perfectly every time:
- Use high-quality cream cheese and cheddar for the best flavor.
- Make your cheese ball a day ahead to save time on the day of your gathering.
- If you’re in a pinch, pre-shredded cheese works, but fresh cheese gives a better texture.
- Experiment with different spices or even herbs to customize the flavor to your liking!
Creative Twists
Feeling adventurous? Here are some fun variations to try:
- Swap out white cheddar for sharp cheddar for a more intense flavor.
- Add a touch of hot sauce to the cheese mixture for a spicy kick.
- Try mixing in chopped herbs like fresh chives or dill for an added freshness.
- Use different ingredients for decoration, like sliced bell peppers or jalapeños, to create your own unique character.
Your Questions Answered
What is the prep time for this recipe?
The total time spent preparing this cheese ball, including chilling, is about 1 hour and 15 minutes. Most of that time is the chilling period.
Can I substitute the cream cheese?
For a lighter option, you can use Greek yogurt instead of cream cheese, keeping in mind it may alter the flavor slightly.
How long will leftover cheese ball last in the fridge?
You can safely store your leftovers in the fridge for up to 3 days.
By following this wonderfully spooky recipe, your Skellington Cheese Ball will be a highlight of any festive gathering! Enjoy the delightful experience of creating and sharing this dish with friends and family. Happy haunting!


Skellington Cheese Ball
Ingredients
Method
- In a large bowl, mix together the softened cream cheese and shredded cheddar until well blended.
- Sprinkle in the garlic powder, onion powder, and black pepper. Mix thoroughly until evenly distributed.
- Shape the mixture into a ball, making sure it’s compact.
- Wrap the ball in plastic wrap and chill it in the refrigerator for about 1 hour.
- After chilling, remove and use the black olives to create the eyes, nose, and mouth of Skellington!
- Serve on a platter and enjoy your creation.

