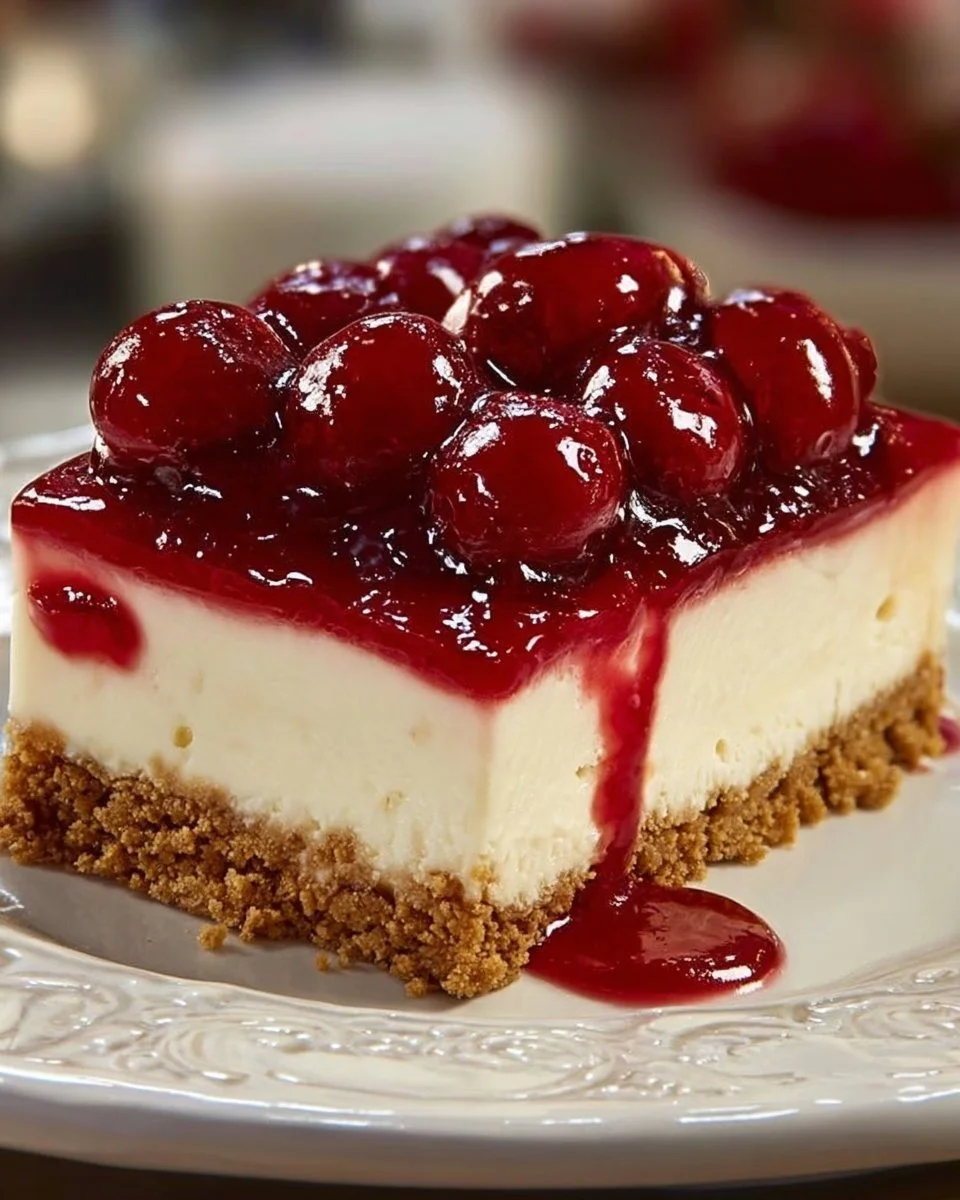
No-Bake Cherry Cheesecake

Why Make This Recipe
No-Bake Cherry Cheesecake is a delightful dessert that’s perfect for any occasion. It offers a creamy, delicious filling and a crunchy crust without the hassle of baking. This recipe is simple, quick, and a guaranteed crowd-pleaser. Whether you’re hosting a party, celebrating a birthday, or just treating yourself, this cheesecake is the ideal choice. Plus, it’s refreshing and light, making it a perfect end to any meal.
How to Make No-Bake Cherry Cheesecake
Ingredients
- Graham cracker crumbs — 1 ¼ cups
- Unsalted butter, melted — ¼ cup
- White sugar — ¼ cup
- Filling:
- Softened cream cheese — 1 (8 oz) package
- Powdered sugar — 1 cup
- Vanilla extract — 1 teaspoon
- Heavy whipping cream — 1 cup
- Cherry pie filling or other filling — 1 (12.5 oz) can
Directions
Prepare the crust: In a bowl, combine graham cracker crumbs, melted butter, and white sugar. Mix until well-blended and crumbly. Press the mixture firmly into the bottom and up the sides of a 9-inch pie plate.
Make the filling: In a separate bowl, beat the cream cheese, powdered sugar, and vanilla extract until smooth. In a chilled glass or metal bowl, beat the heavy whipping cream until soft peaks form. Gently fold the whipped cream into the cream cheese mixture until smooth.
Assemble & chill: Spoon the filling into the prepared crust and use a spatula to level the top. Place the pie in the refrigerator and chill for 2 to 3 hours, or until the filling is firm.
Finish & serve: Spread the cherry pie filling evenly over the top. Refrigerate until ready to enjoy.
How to Serve No-Bake Cherry Cheesecake
Serve the No-Bake Cherry Cheesecake chilled. Slice it into wedges and enjoy each piece with a spoonful of cherry topping. It pairs well with coffee or tea and is great for gatherings.
How to Store No-Bake Cherry Cheesecake


Store any leftovers in an airtight container in the refrigerator. The cheesecake will stay fresh for about 3 to 5 days. If you want to save it for longer, consider freezing the cheesecake without the cherry topping. Just make sure to wrap it well.
Tips to Make No-Bake Cherry Cheesecake
- Ensure the cream cheese is soft enough to mix easily by letting it sit at room temperature for about 30 minutes before using.
- For an extra touch, you can top the cheesecake with whipped cream before serving.
- Use a metal or glass bowl to whip the cream for better results.
Variation
Feel free to change the fruit topping based on your preferences! You could use blueberry pie filling, strawberry topping, or even fresh fruit to customize your cheesecake.
FAQs
Can I use low-fat cream cheese?
Yes, low-fat cream cheese can be used, but it may affect the creaminess of the filling.How long does this cheesecake last in the fridge?
It will last about 3 to 5 days in the refrigerator. Make sure it’s well-covered.Can I make this cheesecake in advance?
Absolutely! This cheesecake can be made a day or two in advance, making it a great option for parties or gatherings.
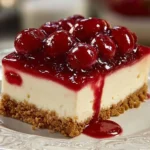

No-Bake Cherry Cheesecake
Ingredients
Method
- In a bowl, combine graham cracker crumbs, melted butter, and white sugar. Mix until well-blended and crumbly.
- Press the mixture firmly into the bottom and up the sides of a 9-inch pie plate.
- In a separate bowl, beat the cream cheese, powdered sugar, and vanilla extract until smooth.
- In a chilled glass or metal bowl, beat the heavy whipping cream until soft peaks form.
- Gently fold the whipped cream into the cream cheese mixture until smooth.
- Spoon the filling into the prepared crust and use a spatula to level the top.
- Place the pie in the refrigerator and chill for 2 to 3 hours, or until the filling is firm.
- Spread the cherry pie filling evenly over the top.
- Refrigerate until ready to enjoy.

