 By Natalie
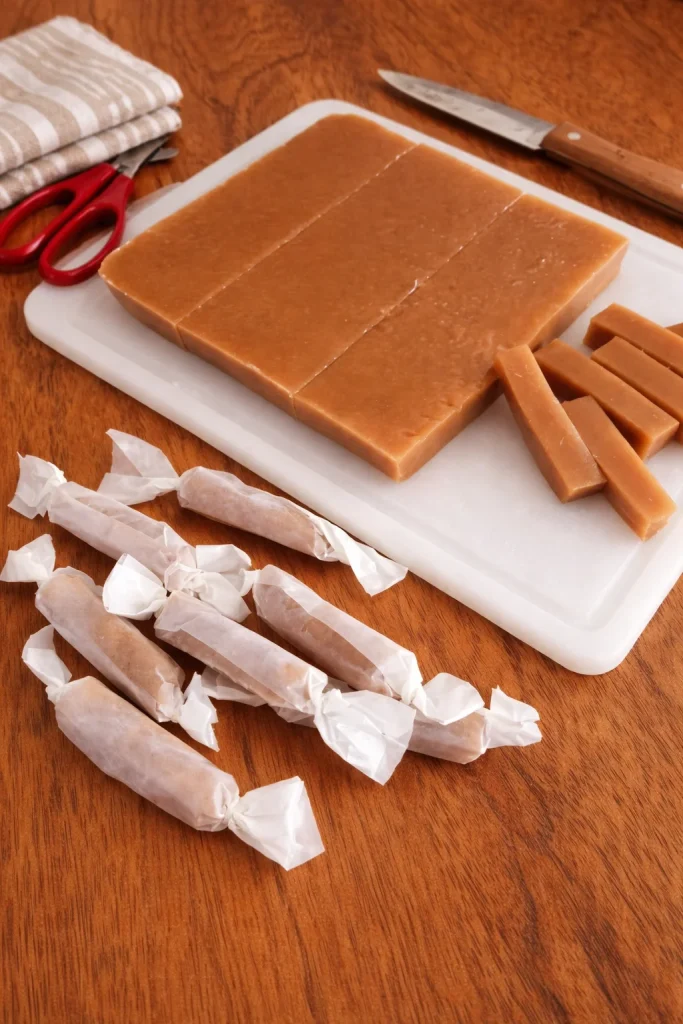
I grew up watching my grandmother stir a glossy pot of butter and brown sugar until it turned the color of honey and the whole kitchen smelled like warm holidays. These homemade caramels are that kind of nostalgia: soft, chewy, and impossibly simple. They’re the sort of candy you make when you want a thoughtful handmade gift, need a quick holiday treat, or simply crave something buttery and sweet that store-bought versions can’t match. If you like a classic caramel with buttery depth and a melt-in-your-mouth texture, this recipe delivers every time — and it’s approachable for anyone who can keep an eye on a saucepan.
In this recipe
Why you’ll love this dish
Homemade caramels are comfort food in candy form. They come together fast with pantry staples, don’t require tempering chocolate or special molds, and make excellent gifts because they look impressive but are forgiving to make. This recipe uses sweetened condensed milk—shortening the cooking time and helping keep the texture creamy—while corn syrup prevents unwanted sugar crystallization so you get smooth, chewy squares instead of gritty candy.
“These caramels are dangerously addictive — buttery, soft, and perfect for holiday gift boxes. Every batch disappears within days.” — a satisfied baker
If you want a salted version with an extra pop of flavor, try a related twist on homemade salted caramels to see how a sprinkle of sea salt transforms the taste.
The cooking process explained
Before you heat a single spoon, know what to expect: melt the butter, dissolve the sugar with corn syrup, gradually incorporate the condensed milk, and cook until the soft‑ball stage (about 245°F). Timing is short but precise: you’ll need to stir constantly toward the end to avoid scorching. After removing from heat, fold in vanilla, pour into a prepared pan, and let cool fully before slicing. A quick cold-water test can substitute if you don’t have a candy thermometer.
What you’ll need
- 1 cup unsalted butter (use high-quality butter for best flavor; if only salted butter is available, omit the 1/4 tsp salt)
- 2 cups brown sugar (light or dark both work; dark gives deeper molasses notes)
- 1 cup corn syrup (helps prevent crystallization; golden or light is fine)
- 1 (14 oz) can sweetened condensed milk
- 1 teaspoon vanilla extract
- 1/4 teaspoon salt
If you’re short on pantry items, you can pair these caramels with a crunchy nibble like easy 2-ingredient crackers for a homemade snack box.
Step-by-step instructions
- Grease a 9×9-inch baking pan and line it with parchment, leaving an overhang for easy removal.
- In a large, heavy-bottomed saucepan, melt the butter over medium heat.
- Add the brown sugar, corn syrup, and salt; stir until the sugar is moistened and the mixture is smooth.
- Gradually pour in the sweetened condensed milk, stirring constantly to combine.
- Bring the mixture to a gentle boil, continuing to stir. Cook for about 15–20 minutes until it reaches 245°F (soft-ball stage) on a candy thermometer. If you don’t have a thermometer, test by dropping a small spoonful into very cold water: it should form a soft, pliable ball.
- Remove the pan from heat and stir in the vanilla extract.
- Pour the caramel into the prepared pan and smooth the top.
- Let cool completely at room temperature, at least 2 hours, then lift out via the parchment and cut into squares. Wrap each piece in wax paper for storage or gifting.
How to serve Homemade Caramels
- Individually wrapped caramels look beautiful in cellophane bags tied with ribbon for gifts.
- Plate a few caramels next to coffee or espresso; their sweetness balances roasted coffee flavors.
- For a dessert platter, offer sliced apples, toasted nuts, and a small bowl of sea salt — guests can sprinkle a pinch on each square.
- If you’re planning a savory-sweet party board, consider pairing the sweets with complementary homemade condiments like homemade Mexican salsas for bold contrast (think: sweet caramel followed by a tangy, savory bite).
Follow safe handling: the cooked sugar is extremely hot — avoid touching or tasting until cooled, and keep children at a safe distance while cooking.
Creative twists
- Sea-salt caramels: sprinkle flaky sea salt on top right after pouring into the pan.
- Chocolate-dipped: once set, cut and dip half of each caramel into melted dark chocolate; chill until set.
- Nutty crunch: fold in 1/2 cup toasted pecans or almonds before pouring.
- Boozy caramel: stir in 1–2 tablespoons bourbon or rum off the heat for adult-friendly flavor.
- Vegan option: use dairy-free butter and a canned sweetened condensed coconut milk; texture may vary slightly but yields a tasty alternative.
Your questions answered
Q: What is the “soft-ball” stage and how do I test it without a thermometer?
A: Soft-ball stage is about 245°F. In the cold-water test, drop a small amount of the hot caramel into cold water; it should form a soft, pliable ball that flattens when removed. If it dissolves or stays syrupy, cook longer.
Q: Why did my caramels turn grainy?
A: Graininess is caused by sugar crystallization. Prevent it by stirring less aggressively in early stages, using corn syrup, and ensuring your pan and utensils are free from stray sugar crystals. If grainy, sometimes gentle reheating with a little corn syrup helps.
Q: Can I make these ahead for gifts?
A: Yes. Wrap each square in wax paper and store in an airtight tin. At room temperature they keep 1–2 weeks; for longer storage freeze then thaw before gifting.
Q: Can I reduce the sugar or make a sugar-free version?
A: This recipe relies on sugar for structure and texture; sugar-free swaps will drastically change the outcome. If you need a sugar-free candy, seek a recipe designed for sugar alternatives.
Q: Is there a safety concern while making caramels?
A: Yes — hot sugar can cause severe burns. Use long-handled spoons, keep children away, and never taste until it cools. Use a candy thermometer or cold-water test to avoid overcooking.
Conclusion
If you want a tried-and-true soft, buttery caramel that’s quick enough for last-minute gifts yet rich enough for special occasions, this recipe is a reliable classic. For more technique notes and photos, I like the clear walkthrough on Homemade Caramels at Tastes Better From Scratch, which complements this method nicely. If you prefer a slightly different texture or step-by-step images, see the helpful tips on Soft, Buttery Homemade Caramels at Meaningful Eats. And if you’re hunting ideas for gourmet gift versions and flavor variations, this Homemade Chewy Caramels guide from Cook Republic has inspiring presentation suggestions. Enjoy making — and sharing — these little squares of buttery joy.
Homemade Caramels
Ingredients
Method
- Grease a 9x9-inch baking pan and line it with parchment, leaving an overhang for easy removal.
- In a large, heavy-bottomed saucepan, melt the butter over medium heat.
- Add the brown sugar, corn syrup, and salt; stir until the sugar is moistened and the mixture is smooth.
- Gradually pour in the sweetened condensed milk, stirring constantly to combine.
- Bring the mixture to a gentle boil, continuing to stir. Cook for about 15–20 minutes until it reaches 245°F (soft-ball stage) on a candy thermometer. If you don’t have a thermometer, test by dropping a small spoonful into very cold water: it should form a soft, pliable ball.
- Remove the pan from heat and stir in the vanilla extract.
- Pour the caramel into the prepared pan and smooth the top.
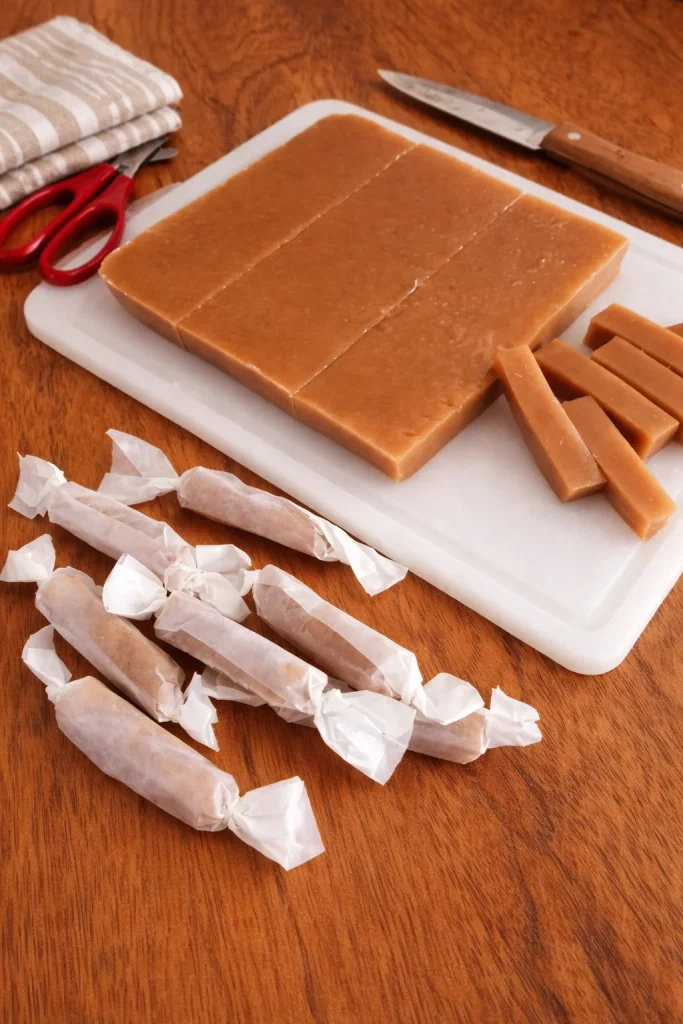
- Let cool completely at room temperature, at least 2 hours, then lift out via the parchment and cut into squares.
- Wrap each piece in wax paper for storage or gifting.