Chicago-Style Bakery Apple Slices
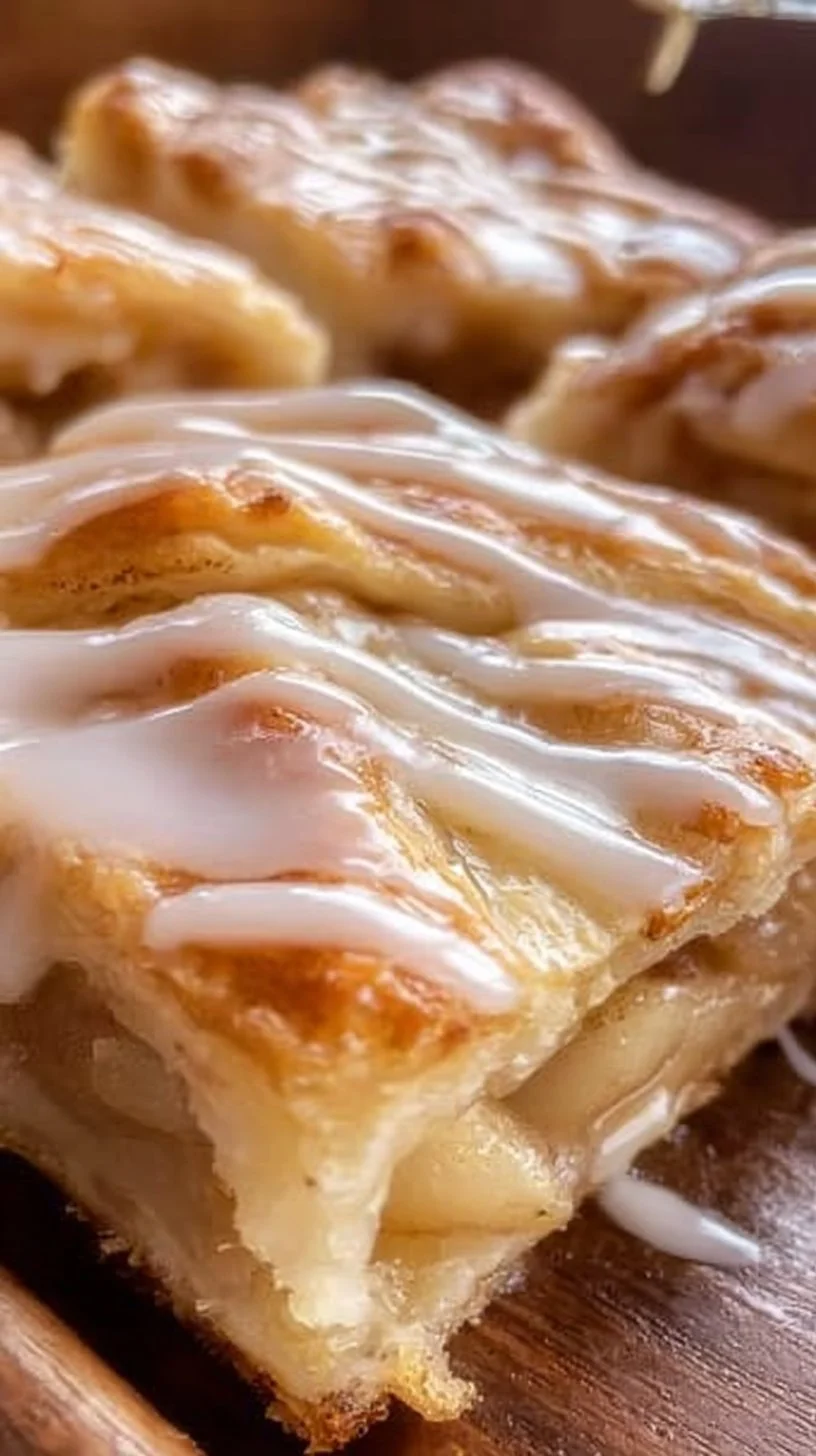

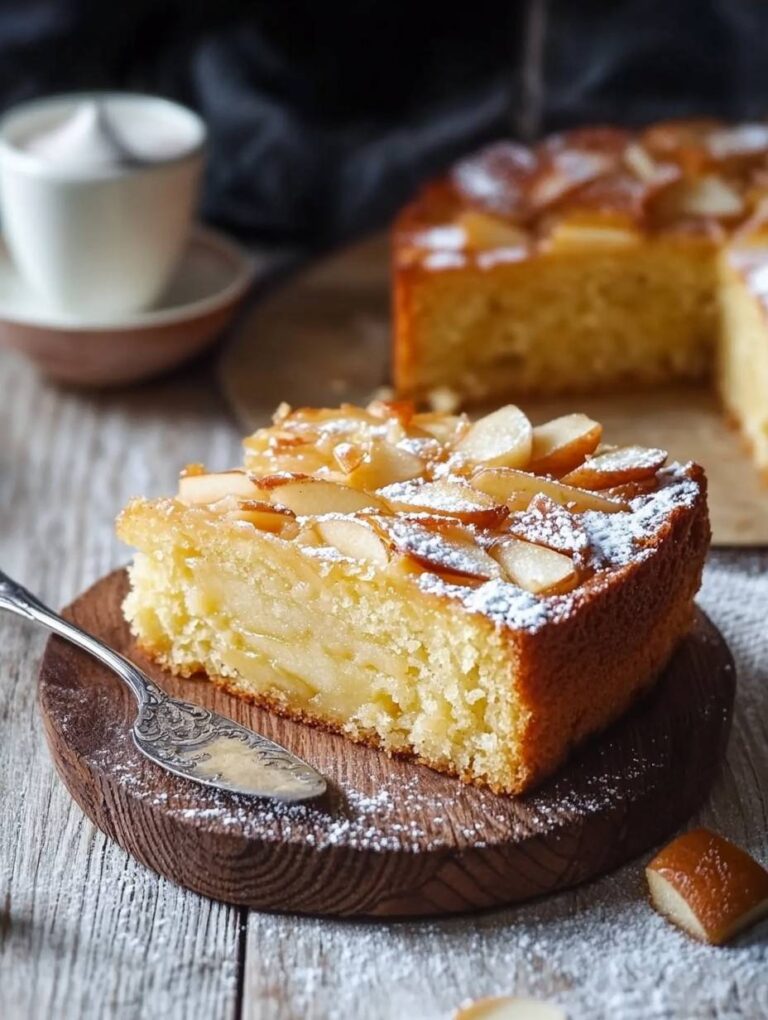
Chicago-style bakery apple slices are a delightful dessert, often cherished for their flaky crust and sweet, cinnamon-spiced apple filling. This recipe is not just about satisfying your sweet tooth; it evokes the comforting feeling of cozying up with warm apple treats after a long day. I remember preparing these with my family during chilly autumn evenings, and they never failed to bring smiles and the lovely aroma of baked apples into our home. Perfect for gatherings, holiday celebrations, or simply as a weekend treat, these slices are a testament to the age-old tradition of baking with care and love.
Why You’ll Love This Dish
There are so many reasons to whip up this delightful recipe. First, it’s kid-approved—what child doesn’t love a dessert that combines apples and cinnamon in a flaky crust? Furthermore, this dish is budget-friendly and uses simple ingredients that most people have on hand. Whether you’re hosting a family dinner or looking for a new dessert to impress friends at brunch, these apple slices will surely wow your guests. Plus, they are versatile enough to enjoy warm or at room temperature.
"These apple slices were a hit at our family gathering! Everyone loved the flaky crust and sweet apple filling. I will definitely make them again!" – A satisfied baker
Preparing Chicago-Style Bakery Apple Slices
This recipe guides you through creating a mouthwatering dessert in just a few straightforward steps. By the end, you’ll have a beautiful tray of warm apple slices drizzled with a sweet glaze. The process is engaging, making it perfect for those who enjoy hands-on cooking. Here’s a quick overview of how we’ll create these delicious treats:
- Prepare the crust using simple pantry staples.
- Preheat your oven and grease your baking pan.
- Make the apple filling that brings all the flavors together.
- Assemble the slices with care.
- Bake the apple slices until they’re golden and tender.
- Prepare the glaze while it cools.
- Serve and enjoy the fruits of your labor!
What You’ll Need
To get started, gather the following ingredients:
For the crust:
- 3 cups all-purpose flour
- 1 tablespoon granulated sugar
- 1 teaspoon salt
- 1 cup unsalted butter, cold and cubed
- 2 large eggs
- 5-6 tablespoons cold water
For the filling:
- 8 cups apples, peeled, cored, and thinly sliced (about 6-8 apples)
- 3/4 cup granulated sugar
- 1/4 cup light brown sugar, packed
- 2 tablespoons all-purpose flour
- 1 teaspoon ground cinnamon
- 1/4 teaspoon ground nutmeg
- 1 tablespoon lemon juice
- 1 tablespoon unsalted butter, melted
For the glaze:
- 1 cup powdered sugar
- 2-3 tablespoons milk
- 1/2 teaspoon vanilla extract
Feel free to substitute varieties of apples based on availability or personal preference—granny smith, honeycrisp, and fuji are all great options!
Step-by-step Instructions


Let’s dive into the cooking process, breaking it down for ease of understanding:
Prepare the Crust: In a large mixing bowl, whisk the flour, sugar, and salt. Incorporate the cold, cubed butter using a pastry cutter or your fingers until the mixture resembles coarse crumbs. In a separate bowl, beat the eggs and mix in 5 tablespoons of cold water. Gradually add this mixture to the flour and butter blend, stirring until the dough starts coming together. If needed, add an additional tablespoon of cold water, one teaspoon at a time. Divide the dough into two equal portions, wrap in plastic, and refrigerate for at least 30 minutes.
Preheat the Oven & Prepare the Pan: Preheat your oven to 375°F (190°C), and grease a 9×13-inch baking pan.
Prepare the Apple Filling: In a large bowl, combine the sliced apples with granulated sugar, brown sugar, flour, spices, and lemon juice, tossing until everything is well-coated.
Assemble the Slices: On a lightly floured surface, roll out one portion of dough into a rectangle and transfer it to the prepared pan, pressing it into the bottom and sides. Spread the apple mixture evenly over the crust and drizzle melted butter on top. Roll out the second portion of dough, placing it on top of the apples, and seal the edges. Cut a few slits in the top crust for steam to escape.
Bake the Apple Slices: Place in the oven and bake for 40-45 minutes or until the crust is golden brown and the apples are tender. If the edges brown too quickly, cover them with aluminum foil.
Make the Glaze: While cooling, whisk together the powdered sugar, milk, and vanilla extract until smooth. If the glaze is too thick, you can add more milk, one teaspoon at a time.
Glaze & Serve: Once slightly cooled, drizzle the glaze over your apple slices. Allow the glaze to set for about 10 minutes before cutting into squares and serving.
Best Ways to Enjoy It
These Chicago-style apple slices can be served warm or at room temperature, making them incredibly versatile! For a delightful touch, serve them alongside a scoop of vanilla ice cream or a dollop of fresh whipped cream. You can also pair them with a cup of spiced cider or a hot cup of coffee or tea for a perfect afternoon treat. If feeling fancy, sprinkle some toasted nuts on top for added crunch!
Storage and Reheating Tips
To store your homemade apple slices, simply cover them tightly with plastic wrap or transfer them to an airtight container. They will keep in the refrigerator for up to four days. For longer storage, these tasty treats can be frozen for up to three months. When ready to enjoy again, thaw them overnight in the refrigerator and reheat in the oven at 350°F (175°C) for about 10-15 minutes until warmed through.
Helpful Cooking Tips
- Chill your ingredients: Keeping your butter and water cold is crucial for a flaky crust.
- Apple variety matters: Mix and match different apples for a more complex flavor profile.
- Don’t overmix the dough: This can lead to a tough crust; stop mixing as soon as it comes together.
- Slice evenly: Ensure your apples are sliced uniformly for even cooking.
Creative Twists
There are numerous ways to put a personal spin on this recipe! Consider adding chopped nuts or dried cranberries to the apple filling for extra texture and flavor. You could also experiment with spices—try adding ginger or allspice for a warmer kick. And if you want a healthier version, consider substituting half of the butter with applesauce and using whole wheat flour instead of all-purpose flour.
Common Questions
How long does it take to prep?
Preparation takes about 30 minutes, plus chilling time for the dough.Can I substitute the apples?
Absolutely! Use your favorite apples or a mix. Just ensure they’re firm and not overly soft.How do I prevent the crust from getting soggy?
Pre-baking the crust can help, or adding a sprinkle of breadcrumbs on the bottom can create a barrier.
This Chicago-style bakery apple slices recipe is sure to become a staple in your dessert repertoire. Happy baking!


Chicago-Style Bakery Apple Slices
Ingredients
Method
- In a large mixing bowl, whisk the flour, sugar, and salt. Incorporate the cold, cubed butter using a pastry cutter or your fingers until the mixture resembles coarse crumbs.
- In a separate bowl, beat the eggs and mix in 5 tablespoons of cold water. Gradually add this mixture to the flour and butter blend, stirring until the dough starts coming together. If needed, add an additional tablespoon of cold water, one teaspoon at a time.
- Divide the dough into two equal portions, wrap in plastic, and refrigerate for at least 30 minutes.
- Preheat your oven to 375°F (190°C), and grease a 9×13-inch baking pan.
- In a large bowl, combine the sliced apples with granulated sugar, brown sugar, flour, spices, and lemon juice, tossing until everything is well-coated.
- On a lightly floured surface, roll out one portion of dough into a rectangle and transfer it to the prepared pan, pressing it into the bottom and sides.
- Spread the apple mixture evenly over the crust and drizzle melted butter on top.
- Roll out the second portion of dough and place it on top of the apples, sealing the edges. Cut a few slits in the top crust for steam to escape.
- Place in the oven and bake for 40-45 minutes or until the crust is golden brown and the apples are tender. If the edges brown too quickly, cover them with aluminum foil.
- While cooling, whisk together the powdered sugar, milk, and vanilla extract until smooth. If the glaze is too thick, you can add more milk, one teaspoon at a time.
- Once slightly cooled, drizzle the glaze over your apple slices. Allow the glaze to set for about 10 minutes before cutting into squares and serving.

