Spooky Ghost Brown Butter Pumpkin Cookies
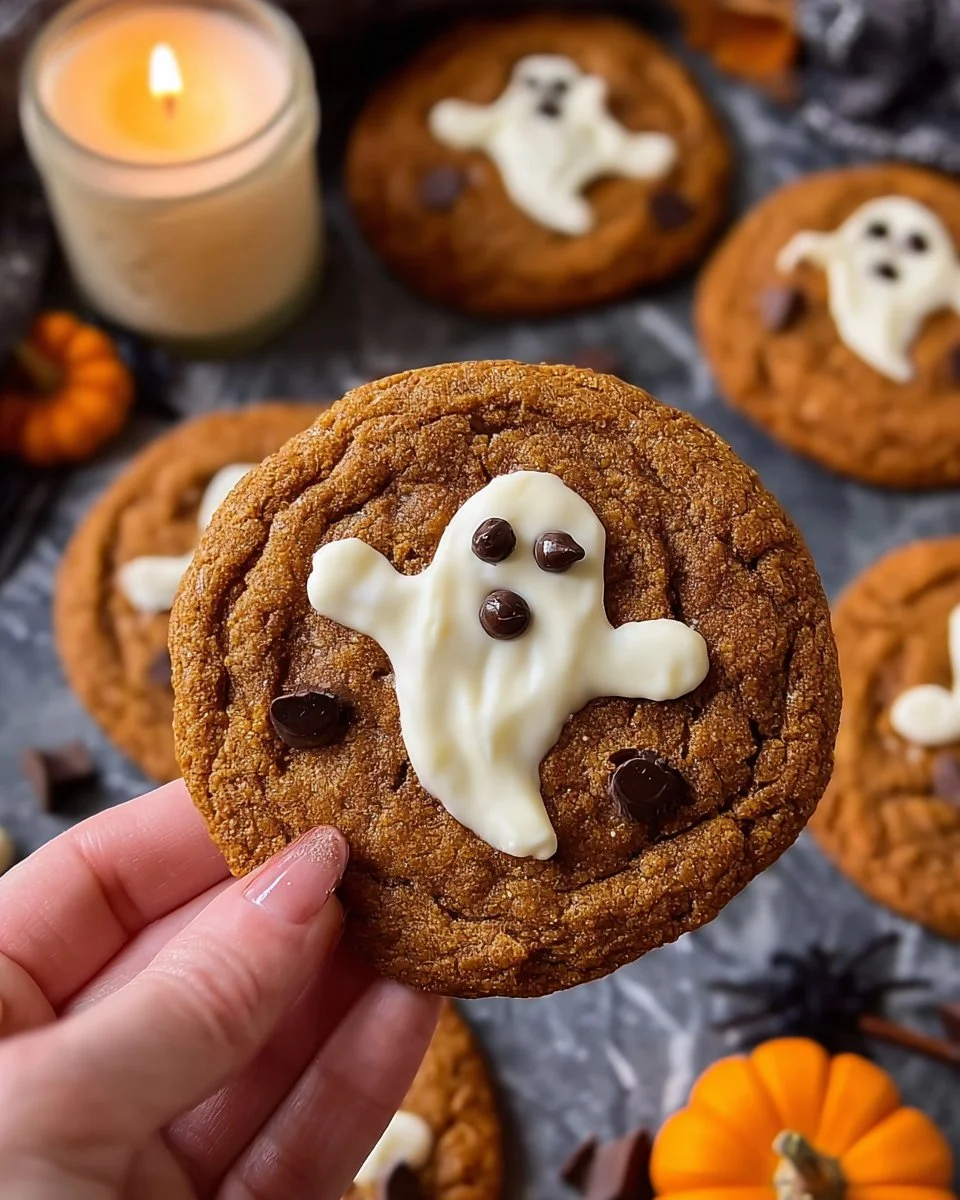

Spooky Ghost Brown Butter Pumpkin Cookies – A Delightful Treat for Fall
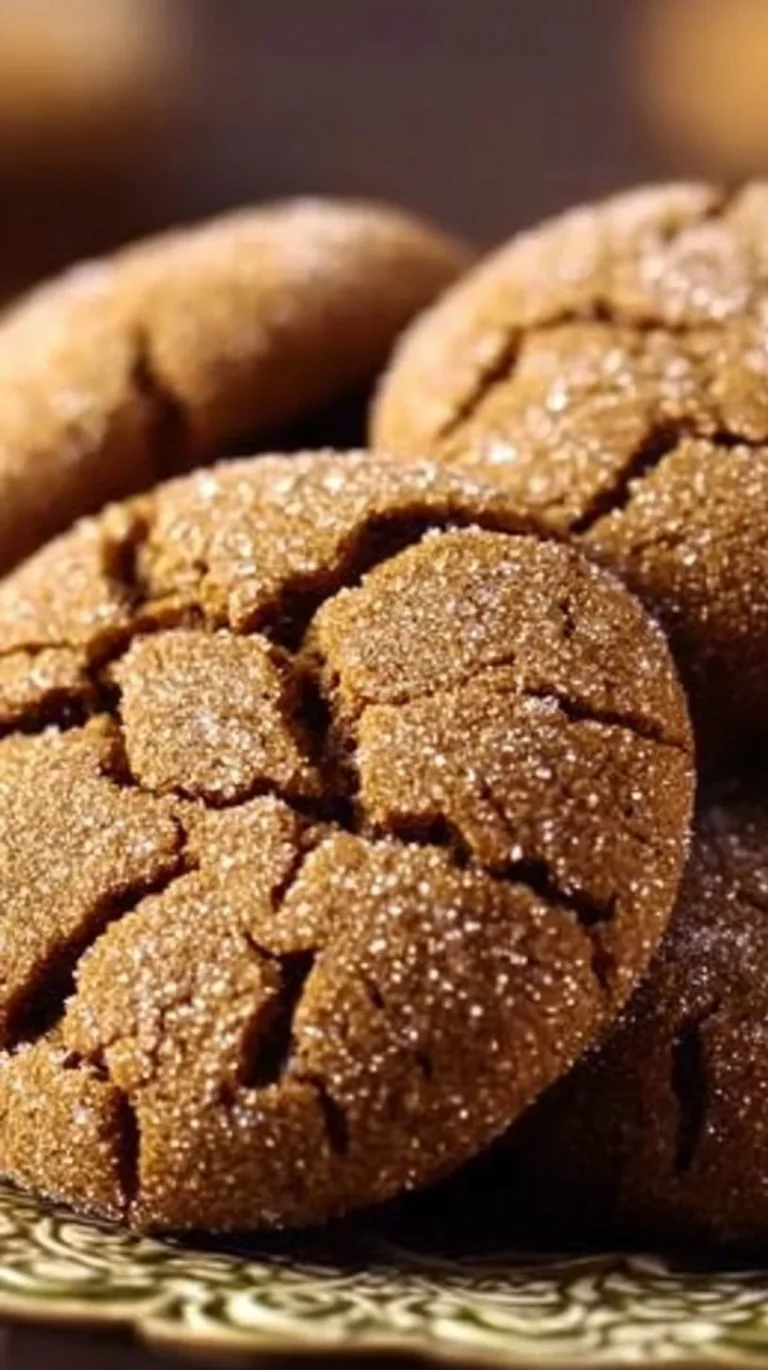
As the leaves turn and Halloween approaches, there’s nothing quite like the comforting aroma of pumpkin cookies baking in the oven. My experience with Spooky Ghost Brown Butter Pumpkin Cookies was nothing short of enchanting. The delightful combination of rich brown butter, warm pumpkin, and a touch of spooky charm makes these cookies a perfect treat for fall gatherings, Halloween parties, or simply a cozy evening at home. The ghostly finish will impress your guests while offering a deliciously chewy texture that keeps them coming back for more.
Reasons to Try This Recipe
What sets this recipe apart is the unique blend of flavors and the creative presentation. The brown butter adds a nutty richness that elevates the traditional pumpkin cookie while the playful ghost design brings a whimsical touch. These cookies are great for all ages, making them kid-approved and a fantastic way to engage little ones in the kitchen. Plus, they’re quick to make, dessert-friendly, and crafted with budget-friendly ingredients—perfect for any occasion from Halloween gatherings to family movie nights.
"These cookies are an absolute hit! Not only do they taste incredible, but the ghost design is so fun. Perfect for a Halloween party!" — A happy home baker
Preparing Spooky Ghost Brown Butter Pumpkin Cookies
To create these enchanting cookies, you’ll begin by baking a batch of soft and chewy brown butter and maple pumpkin cookies. Once cooled, you’ll add a ghostly layer of white chocolate and decorate with dark candy melts. This step-by-step process ensures that even novice bakers can achieve impressive results while enjoying the creativity that comes with decorating.
Gather These Items


Here’s what you’ll need to whip up your spooky treats:
- 1 batch of Brown Butter and Maple Chewy Pumpkin Cookies (recipe by Butternut Bakery)
- White chocolate (I recommend Ghirardelli melting wafers for a smooth finish)
- Black candy melts
- A piping bag (or a sturdy ziplock bag)
- A medium cookie scoop
- Light-colored baking pans for even baking
Feel free to experiment with chocolate brands or use different white chocolate options to find your perfect flavor!
Step-by-Step Instructions
Bake the cookies: Following the Butternut Bakery’s recipe, prepare and bake your pumpkin cookies. Ensure they cool completely before decorating.
Melt the white chocolate: Using a microwave-safe container, melt your white chocolate until smooth and creamy.
Create the ghosts: Spoon a dollop of melted white chocolate onto each cooled cookie. With the back of a small spoon, apply light pressure and gently drag it down to form the ghost shape. You can practice this technique on parchment paper first to gain confidence!
Let it set: Allow the white chocolate ghosts to harden completely on the cookies.
Melt the black candy melts: In a microwave-safe container, melt the black candy melts. Transfer to a piping bag or ziplock bag and trim the corner.
Pipe the features: Use the piping bag to add small dots for the ghost eyes and mouth on each cookie.
Final touch: Let the candy melts dry fully before enjoying your spooky creations!
Best Ways to Enjoy It
These Spooky Ghost Brown Butter Pumpkin Cookies not only taste fantastic but also make for a stunning display. Consider placing them on a festive platter, surrounded by autumn leaves or mini pumpkins for an extra seasonal touch. Pair them with a warm cup of apple cider or a scoop of vanilla ice cream for a delightful autumnal treat. They’re perfect for sharing with friends and family or for a ghoulishly fun dessert table!
Keeping Leftovers Fresh
Storing these cookies is easy! Place them in an airtight container for up to a week at room temperature. If you want to keep them for longer, consider freezing them—just make sure to separate layers with parchment paper to keep them from sticking together. When ready to enjoy, simply let them thaw at room temperature.
Helpful Cooking Tips
Brown your butter correctly: To achieve the nutty flavor that makes brown butter cookies special, watch your butter closely while melting; it should become golden brown with a nutty aroma but not burnt.
Practice your decorating: If you’re unsure about piping the ghost faces, practice on parchment paper first—this will build your confidence and perfect your technique.
Adjust for texture: If your cookies are too soft, you can add a bit more flour to the batter until you reach the desired consistency before baking.
Creative Twists
Want to mix it up? Here are some fun variations:
Add spices: Incorporate a bit of cinnamon or nutmeg into the cookie dough for an extra flavor punch.
Change the chocolate: Swap the white chocolate for dark chocolate for a more dramatic ghost appearance.
Dietary alternatives: Try a gluten-free flour blend to make this recipe suitable for gluten-sensitive friends.
Your Questions Answered
How long do these cookies take to make?
From start to finish, you can prepare and bake these cookies in about an hour, plus additional time for cooling and decorating.
Can I use other types of chocolate?
Absolutely! While white chocolate gives a bright ghostly finish, feel free to experiment with different melting chocolates for your desired flavor.
How do I store these cookies?
Keep them in an airtight container at room temperature for up to a week, or freeze them for longer storage. Just ensure they’re packed carefully to avoid sticking.
Get ready to impress your friends and family with these Spooky Ghost Brown Butter Pumpkin Cookies. This seasonal delight combines taste, creativity, and a fun spirit that’s sure to cheer everyone up this fall!

Spooky Ghost Brown Butter Pumpkin Cookies
Ingredients
Method
- Prepare and bake your pumpkin cookies following the Butternut Bakery's recipe, then cool completely.
- Melt the white chocolate in a microwave-safe container until smooth and creamy.
- Spoon a dollop of melted white chocolate onto each cooled cookie, using the back of a small spoon to form the ghost shape.
- Allow the white chocolate to set completely on the cookies.
- Melt the black candy melts and transfer them to a piping bag or ziplock bag. Pipe small dots for the ghost eyes and mouth.
- Let the candy melts dry fully before serving.

