Mexican Pizza

Why Make This Recipe
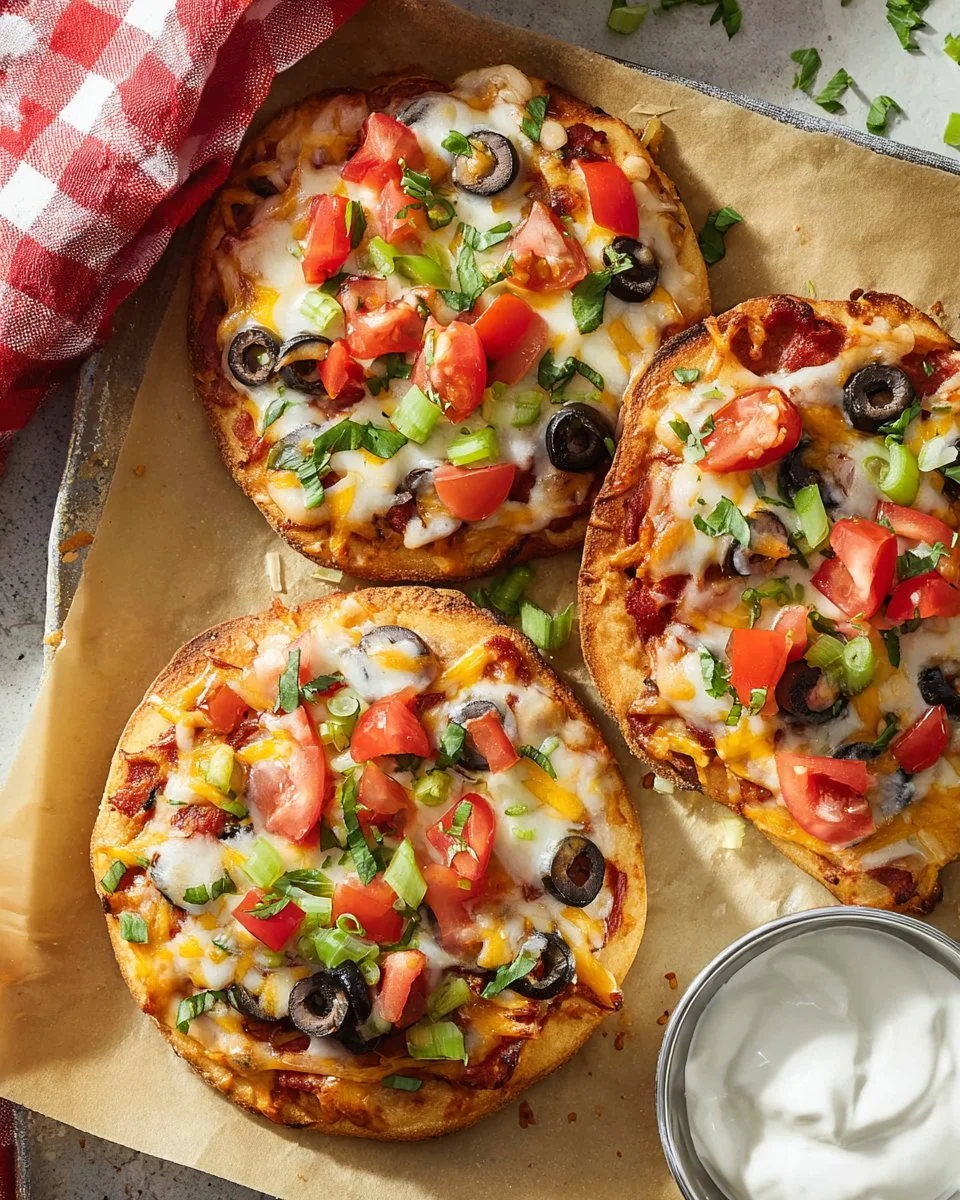
Mexican Pizza is a fun and delicious meal that combines favorite flavors in a unique way. It’s perfect for gatherings, family dinners, or a casual night in. The layers of seasoned beef, cheese, and fresh toppings give it a satisfying taste that everyone loves. Plus, it’s easy to make and can be customized based on your preference!
How to Make Mexican Pizza
Ingredients:
- 1 pound ground beef
- 1 packet taco seasoning
- 1/4 cup water
- 1/2 cup taco sauce
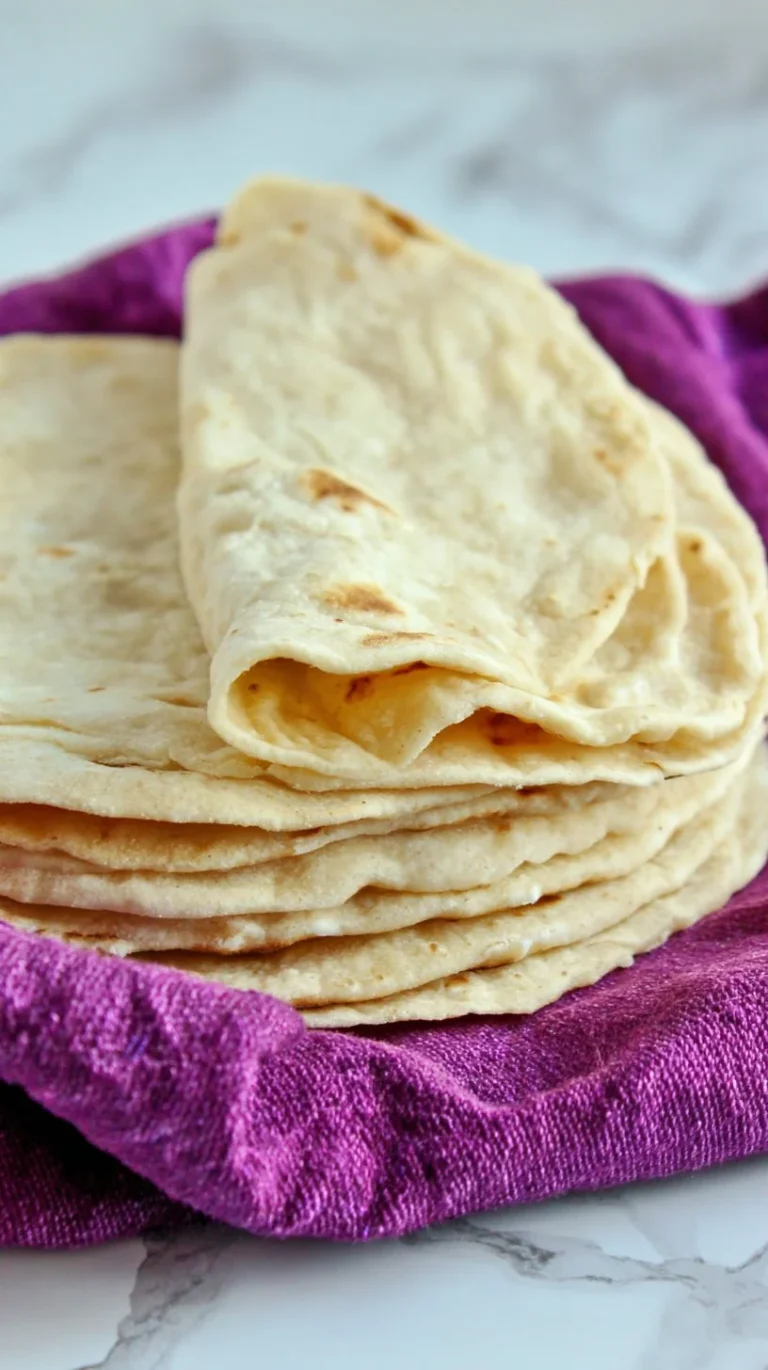
- 12 6-inch flour tortillas
- 1/2 cup oil (vegetable, olive oil, or avocado oil)
- 1 can (16 ounce) refried beans
- 1 1/2 cups enchilada sauce
- 1 cup shredded cheddar cheese
- 1 cup shredded pepper-jack cheese
- 1 large tomato (diced)
- 1 can (6 ounce) black olives (sliced)
- 3-4 green onions (sliced)
- Sour cream (optional)
Directions:
- Heat a large skillet on medium-high heat. Add the ground beef and cook until browned. Drain the grease.
- Add the taco seasoning and water to the beef. Simmer for a few minutes, then stir in 1/2 cup of taco sauce. Bring to a boil, then reduce heat to medium-low and simmer for 10 minutes. Remove from heat.
- Preheat the oven to 400 degrees F.
- In another skillet, heat the oil over medium heat. Fry each tortilla in the oil until lightly browned and crispy. They may bubble up while frying; you can gently pop the bubbles with a fork. Remove and place on paper towels to drain.
- In a small pan, warm the refried beans over medium heat.
- Spread a layer of beans on each crispy tortilla, followed by a layer of taco meat. Top with another tortilla.
- Spread 3-4 tablespoons of enchilada sauce on top, then sprinkle with cheddar and pepper-jack cheese. Add diced tomatoes and olives.
- Bake in the oven for 10-12 minutes, or until the cheese is melted and bubbly.
- Remove from the oven and top with green onions. Cut into slices and serve with sour cream if desired!
How to Serve Mexican Pizza
Mexican Pizza is best served hot from the oven. You can slice it into wedges for easy serving. Add some sour cream on the side for a creamy touch. Pair it with a fresh salad or some guacamole for a complete meal!
How to Store Mexican Pizza


If you have leftovers, you can store them in an airtight container in the refrigerator. They will last for about 3 days. To reheat, you can warm slices in the oven or microwave until heated through.
Tips to Make Mexican Pizza
- For extra crunch, fry the tortillas a little longer, but watch them closely to prevent burning.
- Feel free to customize the toppings! You can add jalapeños, corn, or avocado for added flavor.
- If you want a vegetarian option, substitute the ground beef with sautéed veggies or beans.
Variation
Instead of ground beef, you can use shredded chicken or even a mixture of beans for a meatless version. You can also change the types of cheese according to your taste!
FAQs
Q: Can I use corn tortillas instead of flour tortillas?
A: Yes, you can use corn tortillas, but they may not hold up as well when layered. They might be a bit more fragile.
Q: Can I make this recipe ahead of time?
A: Yes! You can prepare the layers and assemble the pizza, then store it in the fridge until you’re ready to bake. Just add a few extra minutes to the baking time if it’s cold.
Q: What can I serve with Mexican Pizza?
A: You can serve it with a side of salad, salsa, or nachos. It pairs well with a refreshing drink like iced tea or a margarita!


Mexican Pizza
Ingredients
Method
- Heat a large skillet on medium-high heat. Add the ground beef and cook until browned. Drain the grease.
- Add the taco seasoning and water to the beef. Simmer for a few minutes, then stir in 1/2 cup of taco sauce. Bring to a boil, then reduce heat to medium-low and simmer for 10 minutes. Remove from heat.
- Preheat the oven to 400 degrees F.
- In another skillet, heat the oil over medium heat. Fry each tortilla in the oil until lightly browned and crispy. They may bubble up while frying; you can gently pop the bubbles with a fork. Remove and place on paper towels to drain.
- In a small pan, warm the refried beans over medium heat.
- Spread a layer of beans on each crispy tortilla, followed by a layer of taco meat. Top with another tortilla.
- Spread 3-4 tablespoons of enchilada sauce on top, then sprinkle with cheddar and pepper-jack cheese. Add diced tomatoes and olives.
- Bake in the oven for 10-12 minutes, or until the cheese is melted and bubbly.
- Remove from the oven and top with green onions. Cut into slices and serve with sour cream if desired!

