Snowballs (Russian Tea Cakes)

Indulge in the Delight of Snowballs (Russian Tea Cakes)
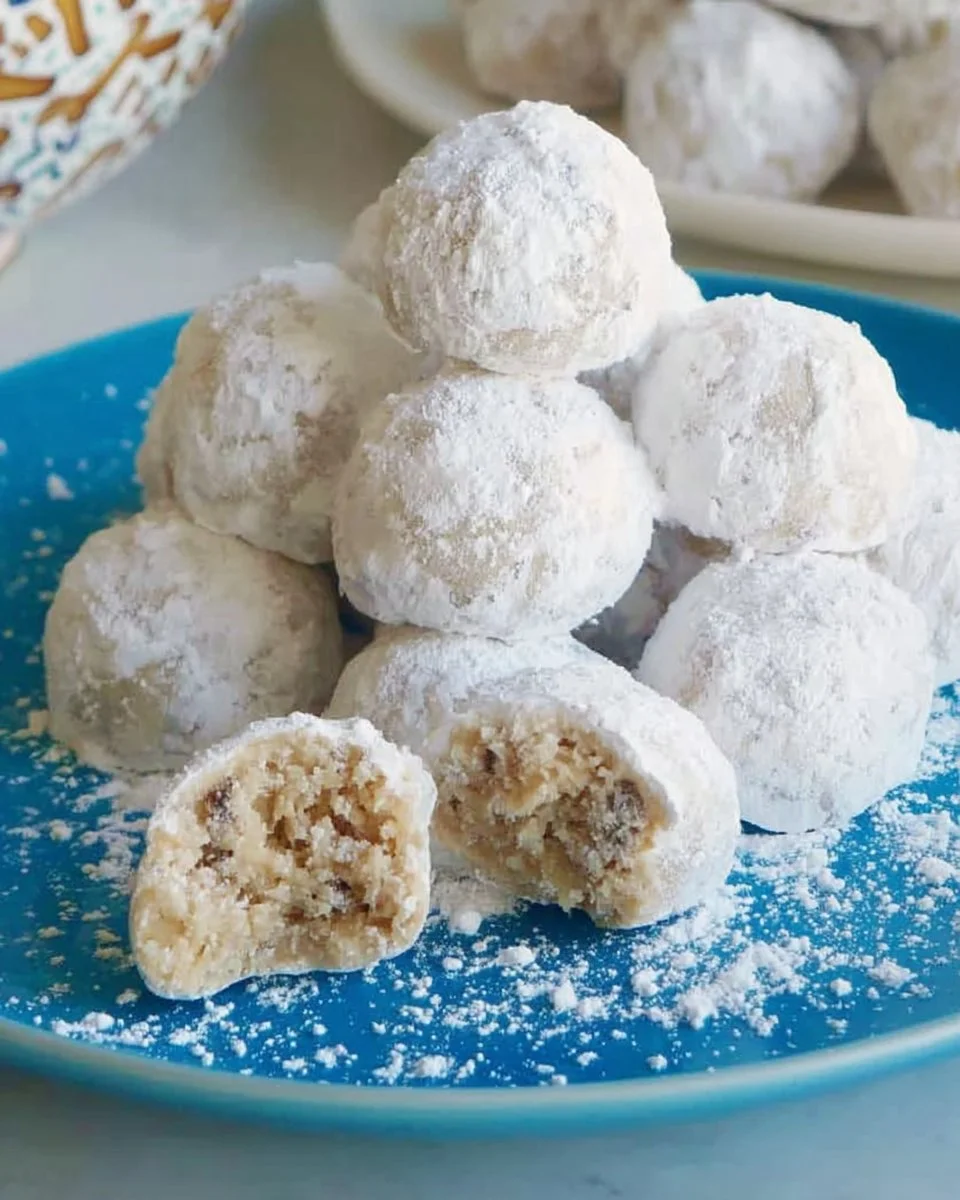
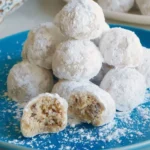
Have you ever encountered a dessert that not only fills your kitchen with a warm, buttery aroma but also evokes nostalgia with every bite? That’s the magic of Snowballs, also known as Russian Tea Cakes. These melt-in-your-mouth cookies made with simple ingredients are a holiday classic, perfect for sharing with family or enjoying by yourself with a warm cup of tea. Their soft, crumbly texture and delightful dusting of powdered sugar make them irresistible!
What Makes This Recipe Special
Why spend time in the kitchen making these delightful treats? For starters, Snowballs are a breeze to bake! With just a handful of ingredients and minimal prep time, they come together quickly—making them ideal for last-minute gatherings or cozy family weekends. Plus, they’re a hit with kids and adults alike, ensuring smiles all around.
"My family couldn’t get enough of these! They were the perfect sweet for our holiday gathering, and I loved how simple they were to make!" – Jamie R.
How This Recipe Comes Together
Making Snowballs is an enjoyable culinary adventure. The process is simple and straightforward, making it accessible for both novice bakers and seasoned pros. Here’s what you can expect:
- Creaming butter and sugar to achieve that light, fluffy texture.
- Gradually incorporating dry ingredients to create a soft dough.
- Shaping the dough into small balls and baking until golden.
- Finally, rolling the warm cookies in powdered sugar for that signature snowy finish.
Once you’ve gathered your ingredients, you’ll be ready to whip up a batch in no time!
What You’ll Need


To create these magical cookies, gather the following ingredients:
- 1 cup unsalted butter, softened
- 1/2 cup powdered sugar
- 1 teaspoon vanilla extract
- 2 cups all-purpose flour
- 1/4 teaspoon salt
- 1 cup chopped nuts (walnuts or pecans)
- Additional powdered sugar for dusting (optional, but recommended!)
Feel free to substitute the nuts based on your preference or dietary restrictions—almonds can add a delightful twist!
Step-by-Step Instructions
- Preheat your oven to 350°F (175°C) and line a baking sheet with parchment paper or keep it ungreased.
- In a large bowl, cream the softened butter and powdered sugar together until light and fluffy. This creates a light base for your cookies!
- Mix in the vanilla extract for that sweet, aromatic flavor.
- In another bowl, whisk together the flour and salt. Gradually add this mixture to the butter mixture, stirring well until combined.
- Stir in the chopped nuts, giving your cookies a delicious crunch.
- Shape the dough into small balls, about 1 inch in diameter, and place them on the prepared baking sheet.
- Bake for 10-12 minutes, or until you notice the bottoms turning a light golden color.
- Remove them from the oven, allow them to cool slightly, and then roll them in powdered sugar—this is where the “snowball” look comes from!
- Place them on a wire rack to cool completely, and dust them with powdered sugar again for an extra touch.
Serve and enjoy these delightful treats!
Best Ways to Enjoy It
These Snowballs can be enjoyed in various ways! Serve them on a festive platter as part of your holiday dessert table, or pair them with a cup of tea or coffee for an afternoon treat. They also make lovely gifts when packaged in decorative boxes—perfect for sharing your baking talents with friends and loved ones.
Keeping Leftovers Fresh
To ensure your Snowballs stay fresh for a longer time, store them in an airtight container at room temperature. They usually retain their flavor for about a week. If you plan to keep them longer, consider freezing them! Simply place cooled cookies in a single layer in a freezer bag or container, separating layers with parchment paper. They can last for up to three months in the freezer.
Helpful Cooking Tips
- Nut-Free Option: If you’re catering to allergies, simply omit the nuts for a classic Snowball.
- Flavor Boost: Consider adding a pinch of cinnamon or almond extract to elevate the flavor profile.
- Textural Variations: Play with different nuts or even incorporate chocolate chips for an indulgent twist.
Creative Twists
Feeling adventurous? Here are a few variations to make this recipe your own:
- Cocoa Powder Delight: Substitute a bit of flour with cocoa powder for a chocolate version.
- Coconut Snowballs: Roll the cooled cookies in shredded coconut instead of powdered sugar for a tropical twist.
- Gluten-Free Option: Substitute all-purpose flour with gluten-free flour for a gluten-free treat that everyone can enjoy.
Your Questions Answered
What’s the prep time for Snowballs?
Typically, preparation takes about 15 minutes, and baking takes an additional 10-12 minutes.
Can I substitute the nuts in the recipe?
Absolutely! If you have allergies or simply don’t like nuts, you can omit them or replace them with chocolate chips or dried fruit.
How do I know if I’ve baked them long enough?
The bottoms should be lightly golden when you remove them from the oven. They may appear soft, but they will firm up as they cool.
With these delightful Snowballs in your baking arsenal, you’re set to impress friends and family with minimal effort. Happy baking!

Snowballs
Ingredients
Method
- Preheat your oven to 350°F (175°C) and line a baking sheet with parchment paper or keep it ungreased.
- In a large bowl, cream the softened butter and powdered sugar together until light and fluffy.
- Mix in the vanilla extract for that sweet, aromatic flavor.
- In another bowl, whisk together the flour and salt. Gradually add this mixture to the butter mixture, stirring well until combined.
- Stir in the chopped nuts, giving your cookies a delicious crunch.
- Shape the dough into small balls, about 1 inch in diameter, and place them on the prepared baking sheet.
- Bake for 10-12 minutes, or until the bottoms turn a light golden color.
- Remove them from the oven, allow them to cool slightly, and then roll them in powdered sugar.
- Place them on a wire rack to cool completely, and dust them with powdered sugar again for an extra touch.

