Baja Blast Pie Recipe: A Delicious Twist on a Classic Treat


baja blast pie recipe lovers, gather round. You know those nights when you want a fun dessert that sparks joy, but you don’t want anything fussy or expensive? Same. I wanted something bright, playful, and easy to share, so I whipped up a pie that tastes like a beach vacation in a crust. Picture creamy, tangy lime-tropical vibes with a cool soda twist. It’s nostalgic, a little goofy, and seriously delicious. Stick with me and I’ll show you exactly how to make it and how to dress it up for fall.
Why This Pie Works For Real Life
I’ve tested a lot of simple desserts, and this one hits that sweet spot between “wow, that’s unique” and “I can actually make this on a weeknight.” The texture is silky, the flavor is bright, and the color is just plain fun. It’s also budget friendly, and you won’t need rare ingredients or a special pan. The filling sets up in the fridge, so the hardest part is waiting. If you’ve got a party, a family movie night, or just a craving, this is the kind of pie that makes everyone smile.
My Baja Blast Pie Recipe
Ingredients
- 1 ready-made 9-inch graham cracker crust
- 2 cups Baja Blast soda, divided
- 1 packet unflavored gelatin, 0.25 oz
- 8 oz cream cheese, softened
- 1/2 cup granulated sugar
- 1 tablespoon fresh lime juice
- 1 cup heavy whipping cream, chilled, or 8 oz whipped topping
- 1 pinch salt
- 2 to 3 drops blue or teal gel food coloring, optional for brighter color
- Whipped cream, lime zest, and candy pieces for garnish
Directions
- Chill the crust: Pop the crust in the fridge so it stays firm while you make the filling.
- Bloom the gelatin: Pour 1/2 cup cold soda in a small bowl. Sprinkle the gelatin over it and let it sit for 5 minutes.
- Warm the base: In a small saucepan, heat 1 cup soda with the sugar over medium heat until the sugar dissolves and the liquid steams gently. Do not boil.
- Dissolve: Remove from heat. Stir in the bloomed gelatin until smooth and dissolved. Add the remaining 1/2 cup soda and the lime juice. Let this cool to room temperature. It should be slightly thick but still pourable.
- Whip the cream: Beat the heavy cream with a pinch of salt to soft peaks. Keep it cold in the fridge. If using whipped topping, keep it chilled.
- Beat the cream cheese: In a separate bowl, beat the cream cheese until very smooth. This prevents lumps later. You can add a few drops of food coloring now if you like a brighter hue.
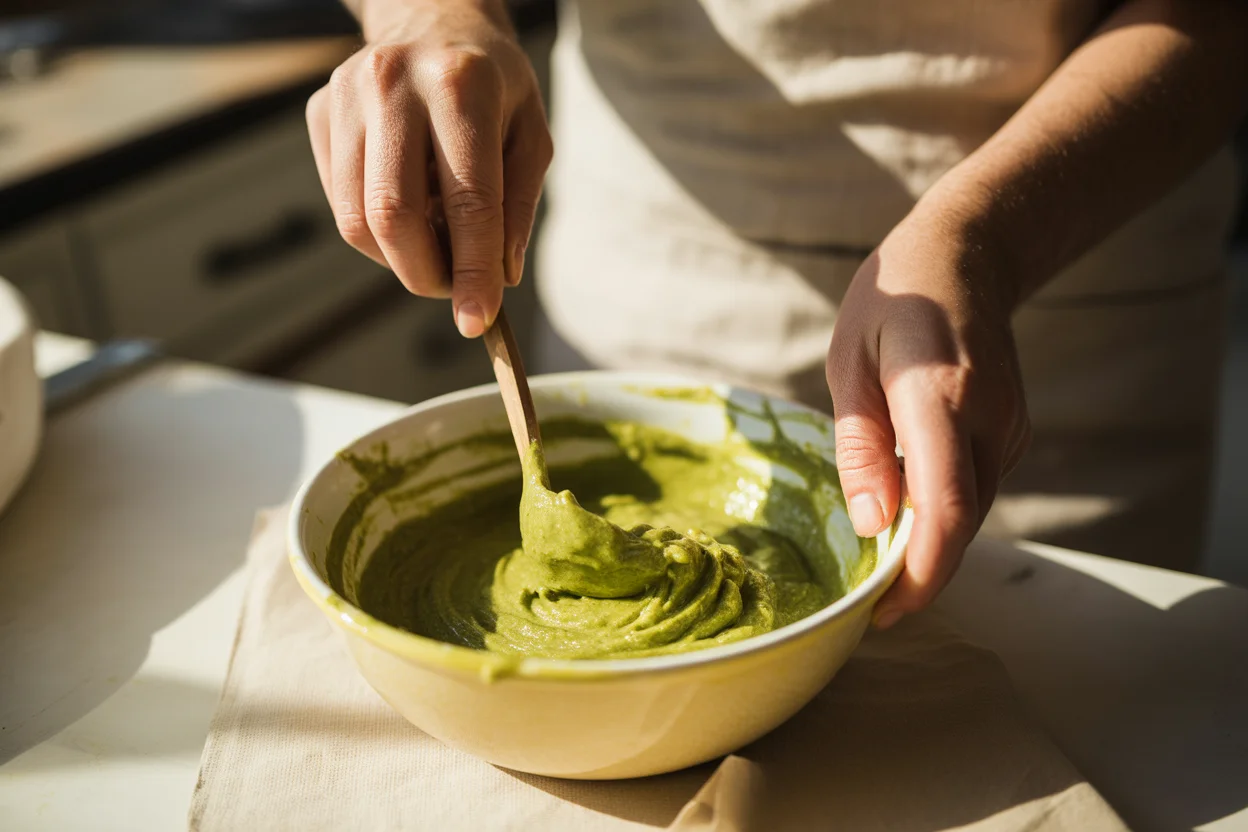
- Combine gently: Slowly stream the cooled soda mixture into the cream cheese while mixing on low until smooth. Fold in the whipped cream with a spatula until just combined.
- Fill and chill: Pour into the chilled crust. Smooth the top. Refrigerate at least 6 hours, preferably overnight, until firm.
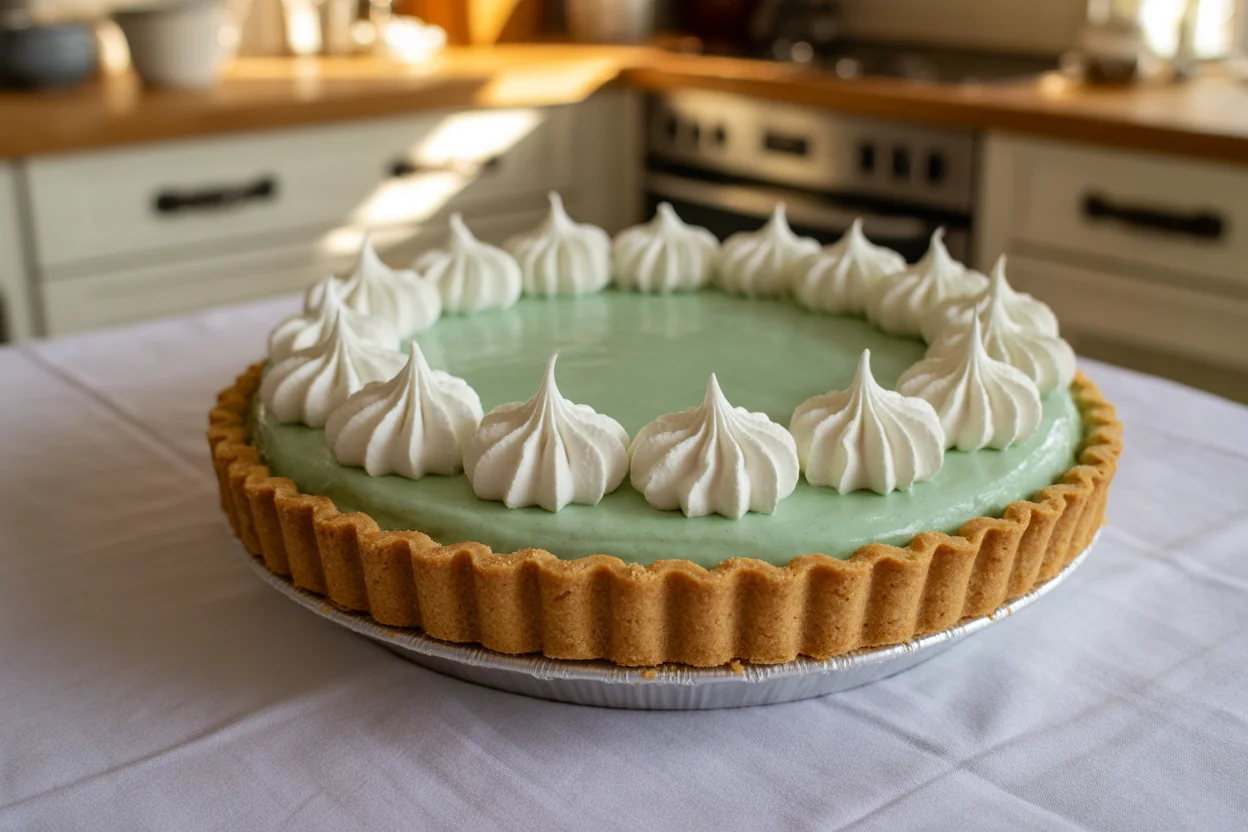
- Garnish and serve: Top with whipped cream, a sprinkle of lime zest, and a few colorful candies if you want a Halloween twist.
Tips For Success
Let the gelatin base cool before adding to the cream cheese so it doesn’t melt the dairy. Beat the cream cheese smooth first for a silky pie. If you’re short on time, the freezer for 20 minutes can jump start the chill, then move to the fridge to finish setting. This is my go-to baja blast pie recipe for last-minute celebrations because it’s forgiving and still feels special.
If creamy pies are your thing, you might also love this classic comfort pick, the old fashioned chocolate cream pie. And when you’re craving a nutty, cozy slice that tastes like holidays at grandma’s, try Grandma’s pecan pie.
The History of Candy Corn
Since we’re talking Halloween parties and easy desserts, let’s take a fun detour into candy corn. This little tri-colored candy has been around since the late 1800s, first made by a company called Wunderle, then popularized by Goelitz, the folks you now know as Jelly Belly. It was designed to look like a kernel of corn, back when candy makers loved seasonal shapes and farm themes. It gained serious popularity in the 20th century as fall celebrations spread through schools, community events, and trick-or-treating. Love it or not, it’s a fixture of October snack bowls and party tables.
What I like is how candy corn instantly says Halloween, which makes it a cute garnish or sprinkle for the top of this pie. If you want the full spooky vibe, scatter a few pieces over the whipped cream or around the pie plate. It’s a small touch, but it makes the whole thing look festive without any effort.
The Science Behind Candy Corn Ingredients


What’s Really Inside
- Sugar and corn syrup: The base that gives candy corn its sweetness and chew.
- Gelatin: Adds body and chew to the candy so it holds shape.
- Honey or flavorings: A little flavor boost for that signature candy corn taste.
- Food dyes: Create the iconic yellow, orange, and white stripes.
Why does this matter for a dessert like our pie? Because understanding how gelatin sets and how sugar behaves helps you nail the texture. Gelatin needs to soften in a cold liquid first, then it dissolves in warmth, and finally it sets up as it cools. That’s exactly why the step-by-step with the soda base is so important. If you mix it in too hot, you can deflate your whipped cream and end up with a runny filling. If you skip the bloom, you’ll see little grainy bits. Science may sound fancy, but it’s just a few smart steps that give you a perfect slice.
Popular Myths About Candy Corn
There are rumors about candy corn that pop up every year. Does it last forever? No, it gets stale like any candy. Is it made from wax? Not exactly. It can feel waxy because of the texture from sugar and gelatin, but it’s not candle wax. Another myth is that nobody likes candy corn. Plenty of people enjoy a handful when it’s fresh. The trick is buying a fresh bag and storing it in an airtight container. If it gets hard, it’s just old or dried out.
Also, candy corn isn’t just for snacking. A few pieces on the top of a pie or cupcakes can make any dessert instantly look on-theme for October. I like a light touch, just a sprinkle.
“I thought I didn’t like candy corn until I had it as a garnish on a creamy pie. It added a cute crunch and a pop of color. I wouldn’t eat a bowl of it, but a few pieces on dessert is actually perfect.”
Fun Ways to Enjoy Candy Corn
If you want to have some fun with candy corn, you’ve got options. You can stir a handful into a bowl of party snack mix with pretzels, peanuts, and chocolate chips. You can press a few pieces gently into the top of your chilled pie for a playful, almost confetti-style look. You can also decorate the rim of your pie with a circle of candy corn so it looks like a candy crown. If you’ve got kids around, this is the easiest job to assign. Keep it light so it doesn’t overwhelm the flavors.
Another idea is to crush candy corn lightly and sprinkle it over whipped cream. It melts a tiny bit as it sits, which makes a sweet little glaze. It’s not for everyone, but if you want maximum Halloween energy, it’s a fun flourish that takes seconds.
Candy Corn’s Role in Halloween Traditions
Candy corn has become a seasonal symbol, much like pumpkins and black cats. You see it in candy bowls, on classroom treats, and decorating cakes and cookies. It signals a change in season, the cozy feeling of sweaters and movie nights, and the chance to be a little playful in the kitchen. When I make this pie in October, I lean into the theme. A few candy corn pieces on top, maybe some lime zest for a bright contrast, and that’s it. It’s an instant party dessert.
Bringing both traditions together tastes good too. The crisp sweetness of candy corn pairs surprisingly well with the creamy, citrusy flavor of the pie. It’s a simple way to tie your dessert to the season without needing special tools or extra shopping.
Common Questions
Can I make the pie ahead?
Yes. The pie is best when it chills at least 6 hours, and overnight is even better. You can make it 1 day ahead and garnish right before serving.
Do I have to use gelatin?
Gelatin is what helps it set nicely. If you want to skip it, try a stabilized whipped cream or use a pudding mix, but the texture will be softer. For the most reliable slice, stick with gelatin.
Can I use whipped topping instead of heavy cream?
Absolutely. Fold in 8 oz whipped topping in place of the whipped cream. It’s a little sweeter and very stable.
How do I get that bright color?
Add 2 to 3 drops of gel food coloring. Start small, you can always add more. The soda gives a tint, but a tiny boost makes it pop.
Is the flavor too sweet?
No. The cream cheese and lime juice balance it nicely. If you prefer less sweetness, reduce the sugar to 1/3 cup.
A Sweet Send Off
If you made it this far, you’re ready to pull off a bold and cozy dessert that tastes like vacation meets fall. This baja blast pie recipe keeps things simple, fun, and shareable, and it’s easy to customize with festive garnishes. For more inspiration, I enjoyed reading a playful home cook’s take in Heaven Help Me: I made a Baja Blast®-Inspired Pie, and there’s even a trail-ready spin in We Made an Instant Baja Blast Pie Recipe Because God Is Dead …. Try my baja blast pie recipe, share a slice with someone you love, and enjoy that first chilled, creamy bite. You’ve got this.
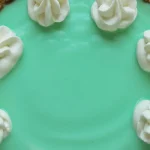

Baja Blast Pie
Ingredients
Method
- Preheat your oven to 350°F (175°C).
- Crush graham crackers into fine crumbs using a food processor (or place them in a sealed plastic bag and crush with a rolling pin).
- In a mixing bowl, combine the graham cracker crumbs and sugar. Pour in the melted butter and mix until the crumbs are evenly coated and begin to clump together.
- Press the crumb mixture firmly into the bottom and sides of a 9-inch pie pan. Use the bottom of a glass or measuring cup to smooth and compact the crust.
- Bake the crust in the preheated oven for 8-10 minutes, or until lightly golden. Let it cool completely before adding the filling.
- In a medium-sized bowl, whisk together the instant vanilla pudding mix and Baja Blast soda until smooth. Set aside for 5 minutes to let it thicken.
- In a separate mixing bowl, use a hand mixer to beat the softened cream cheese until creamy and free of lumps.
- Gradually add the sweetened condensed milk, heavy cream, and lime zest to the cream cheese, mixing until fully incorporated.
- Gently fold the pudding mixture into the cream cheese mixture until smooth. If you want the filling to truly imitate the Baja Blast color, add a few drops of blue and green food coloring until you reach the desired shade.
- Pour the filling into the cooled graham cracker crust, smoothing the top with a spatula to create a smooth surface.
- Refrigerate the pie for at least 4 hours, or preferably overnight, to allow it to set properly.
- Once the pie is set, spread a layer of whipped topping or Cool Whip over the surface of the pie.
- Garnish with lime slices, lime zest, or a drizzle of Baja Blast for a finishing touch.

